Setup CF1 Client
Task
Configure and connect the Cloudflare One Client (WARP) on the Windows 11 machine so that all device traffic routes through Cloudflare Gateway for policy enforcement.
Why
The Cloudflare One Client (also referred to as the CF1 Client, CF1 Device Client, and previously the WARP Client) acts as a modern VPN replacement, securely routing all network traffic from user devices through Cloudflare's edge network, where HTTP filtering and security controls are applied.
This is required for:
- M4: Gateway AI app controls, DLP prompt inspection, Shadow AI analytics
- M5: Blocking direct MCP access via Gateway policies
Without the CF1 Client connected, Gateway policies cannot enforce blocks on public AI tools or direct MCP server access.
What You Are Configuring
- Device enrollment policy
- CF1 Client connection on the Windows 11 VM
Step 1: Configure Enrollment Policy
First, define who can enroll devices to your Zero Trust organization.
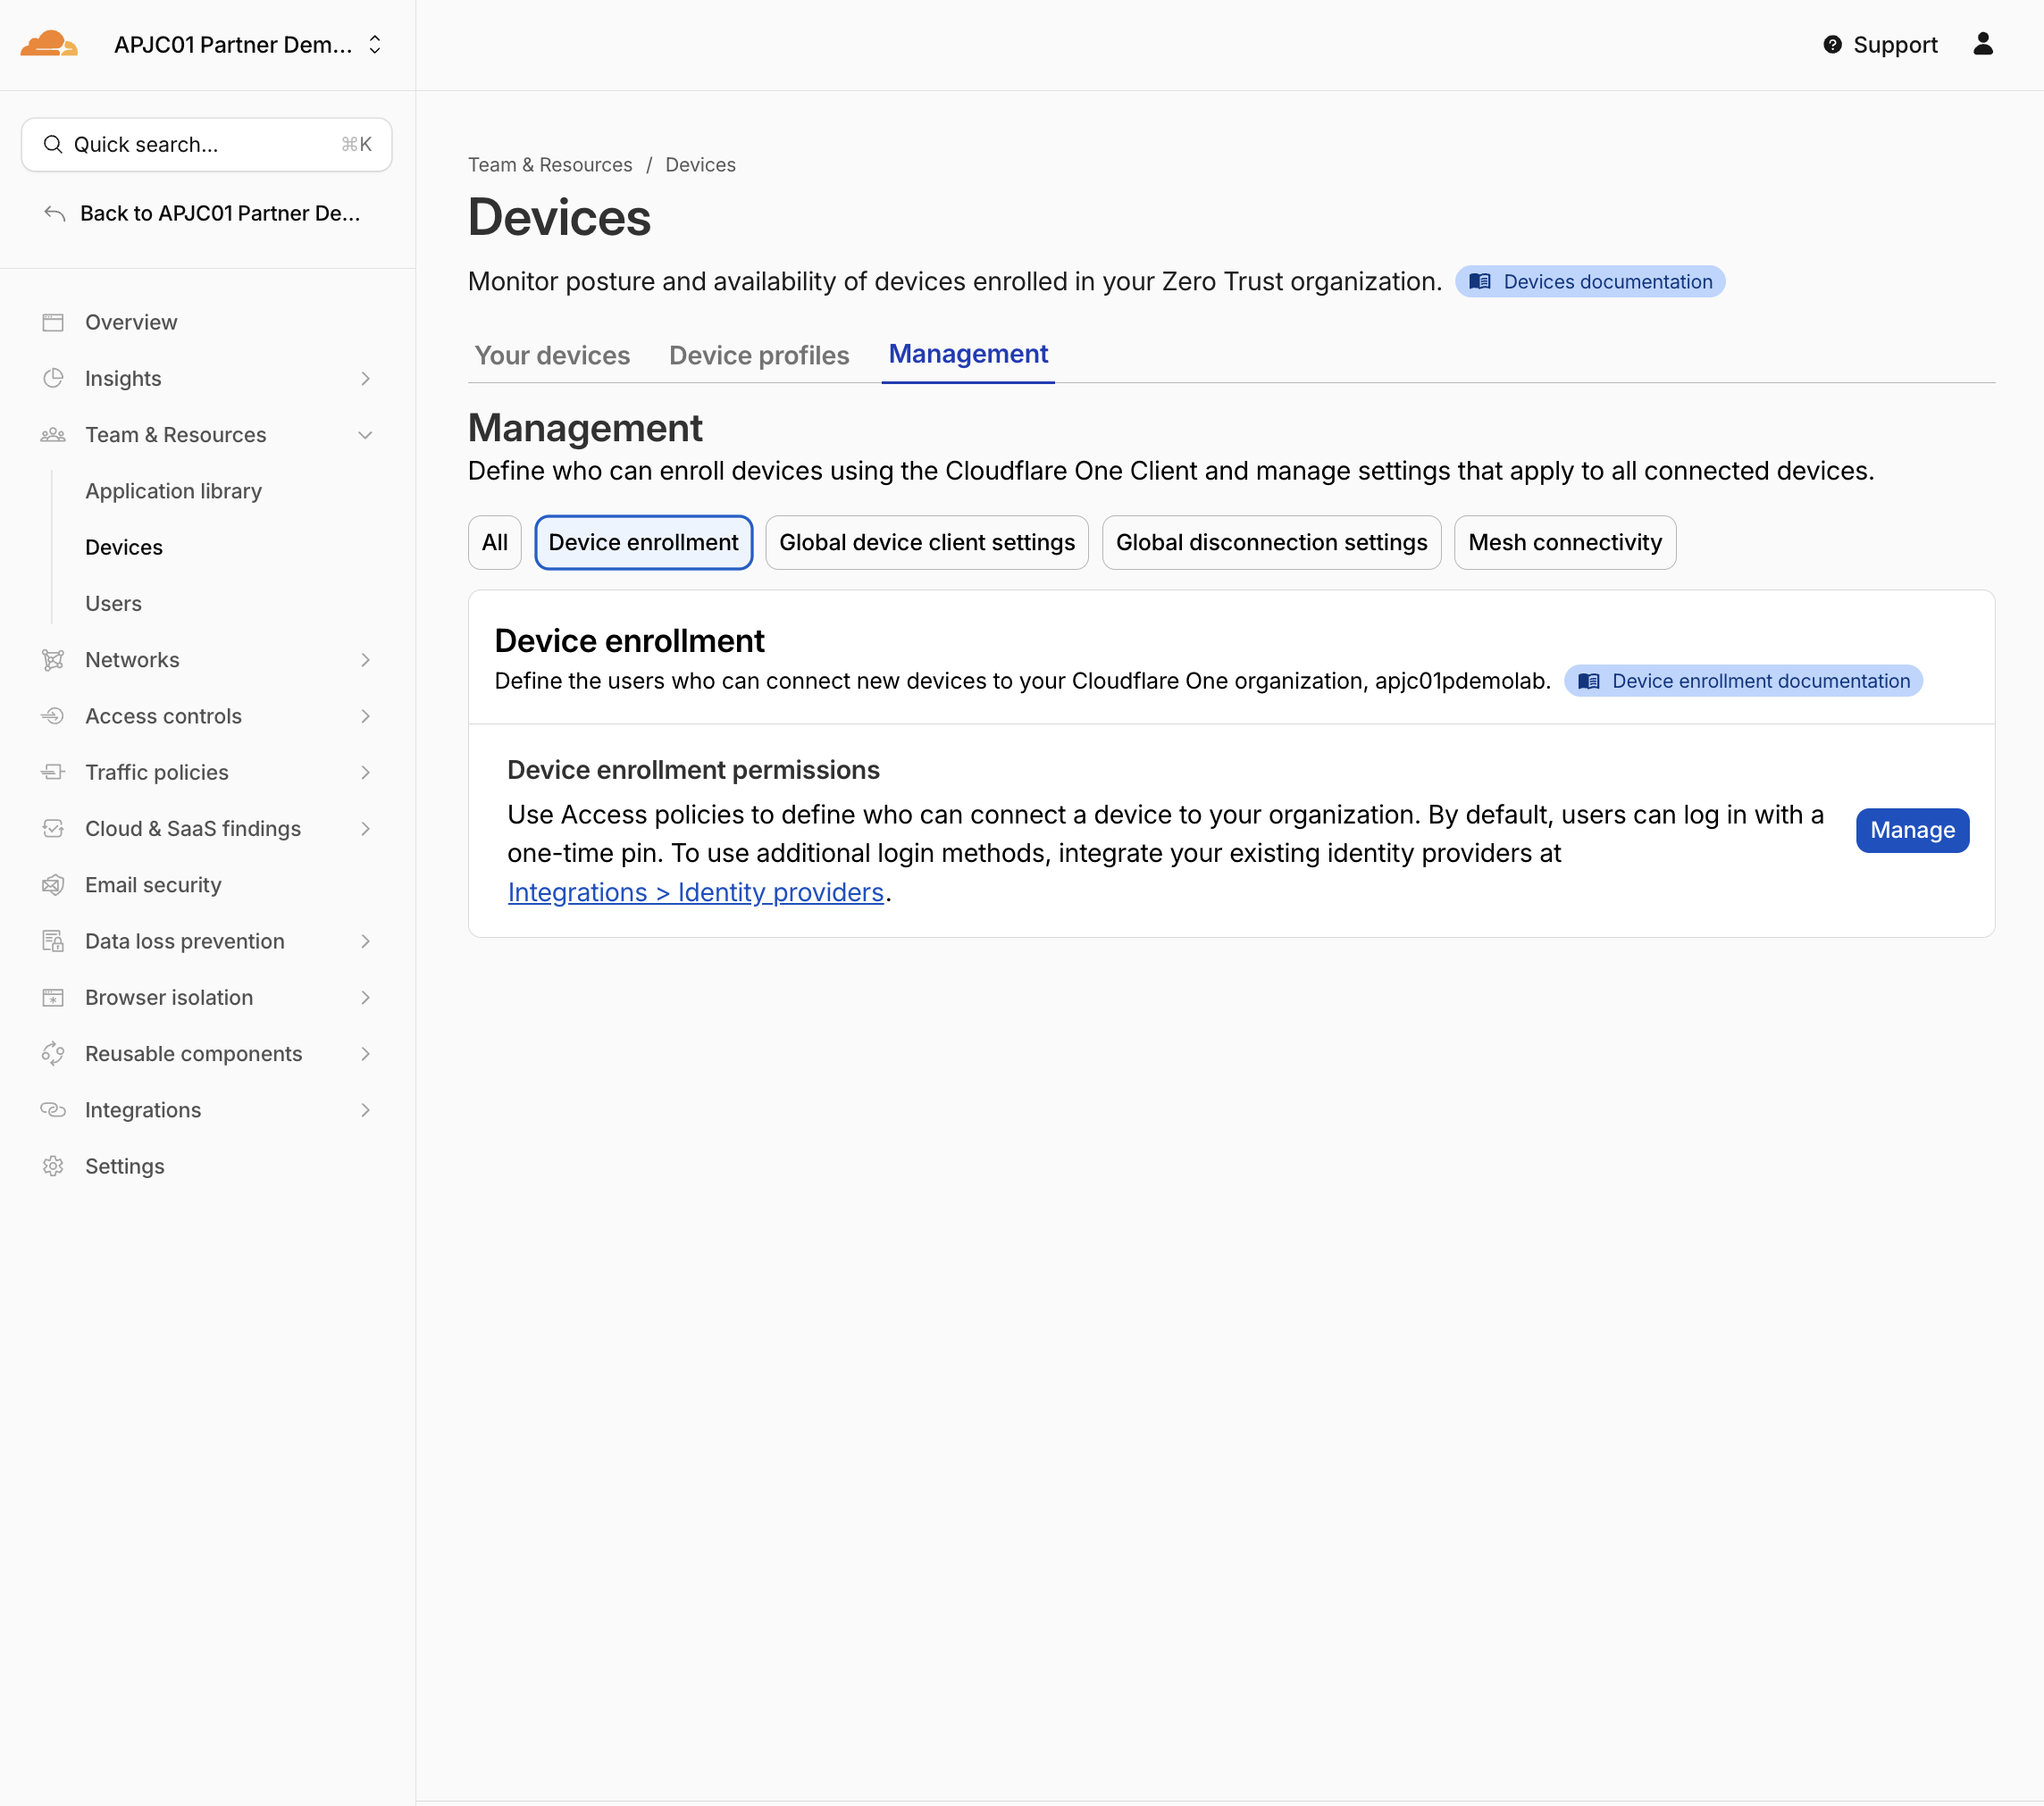
- In your Cloudflare One dashboard, navigate to Teams & Resources > Devices
- Go to Management > Device enrollment
- Add new Device enrollement click Manage
-
In Policies tab Select Select existing policies
-
Choose one of the policies you created earlier (either
All employeesorIT admins— both include the test user)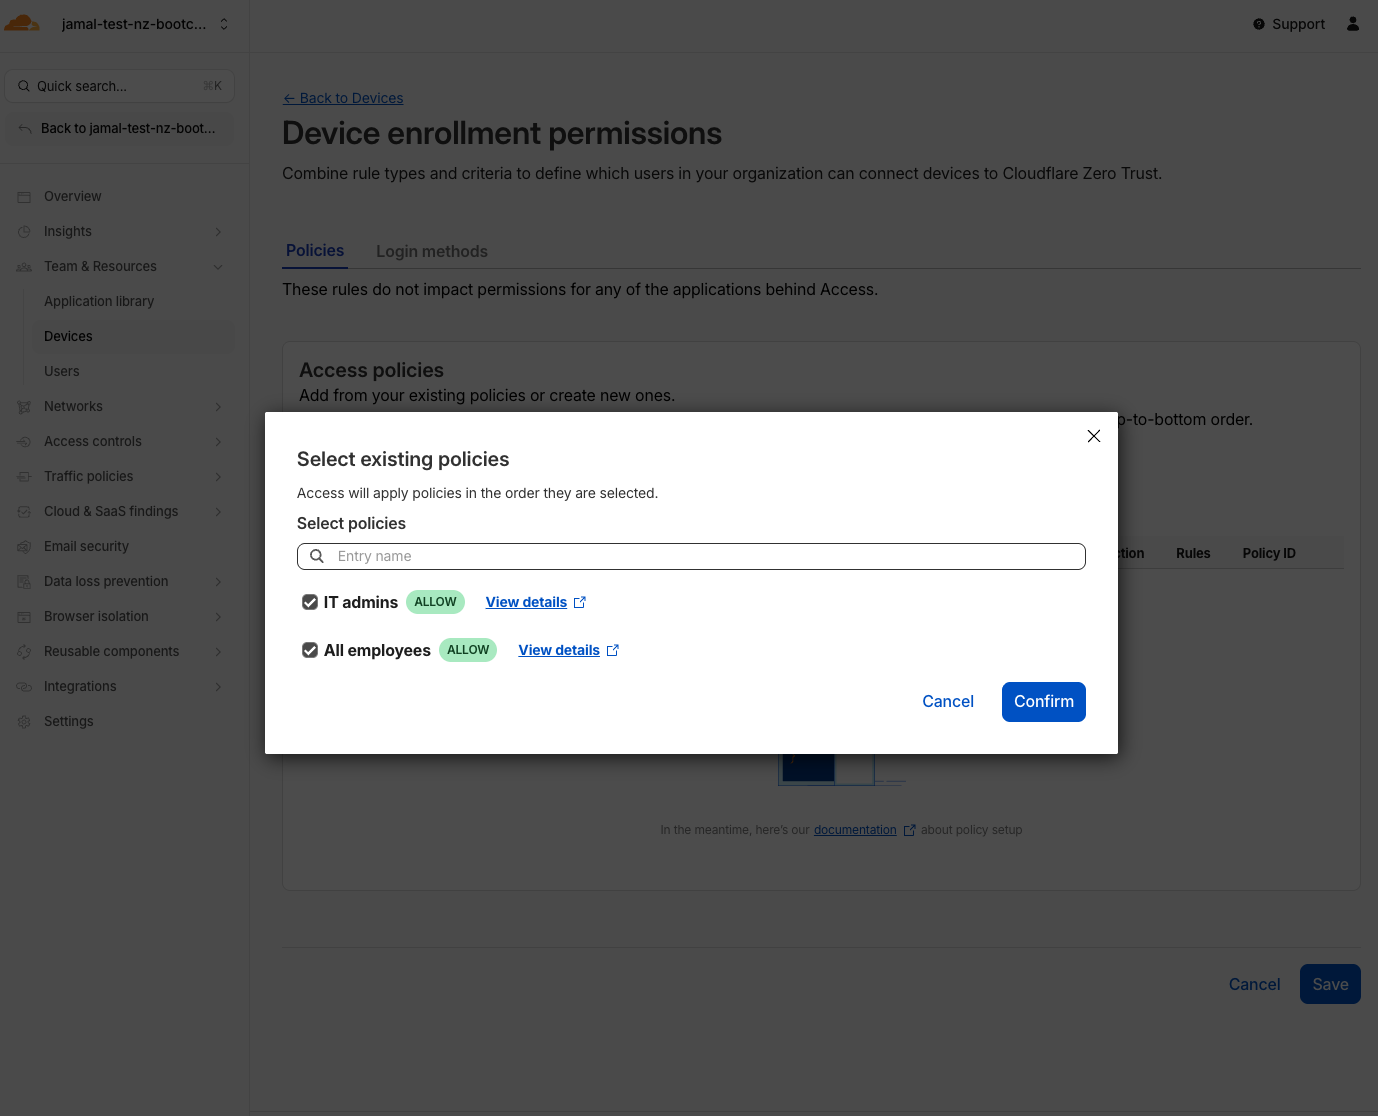
-
Click Confirm & Save
-
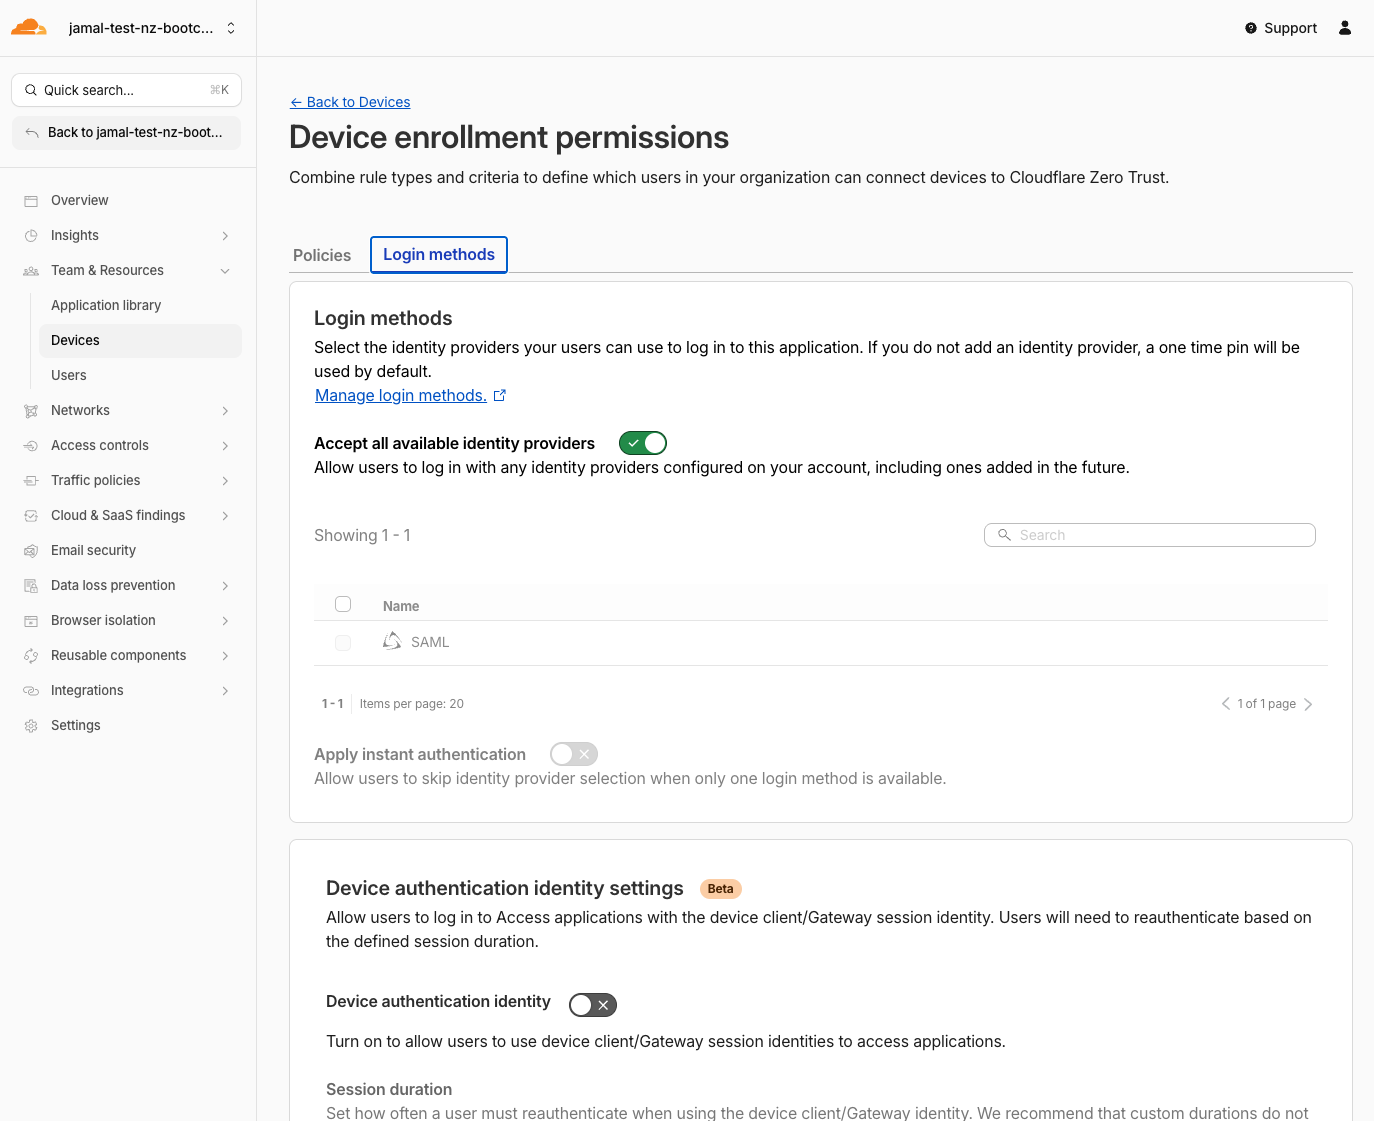
In Login Methods tab verify Accept all available identity providers is turned On
This setting controls which IdP(s) users can use to authenticate during device enrollment. Accepting all available providers ensures any configured IdP can be used
- Save
Expected Result
A device enrollment policy is active. Users matching the policy can now enroll their devices.
Step 2: Open the CF1 Client on the Windows 11 VM
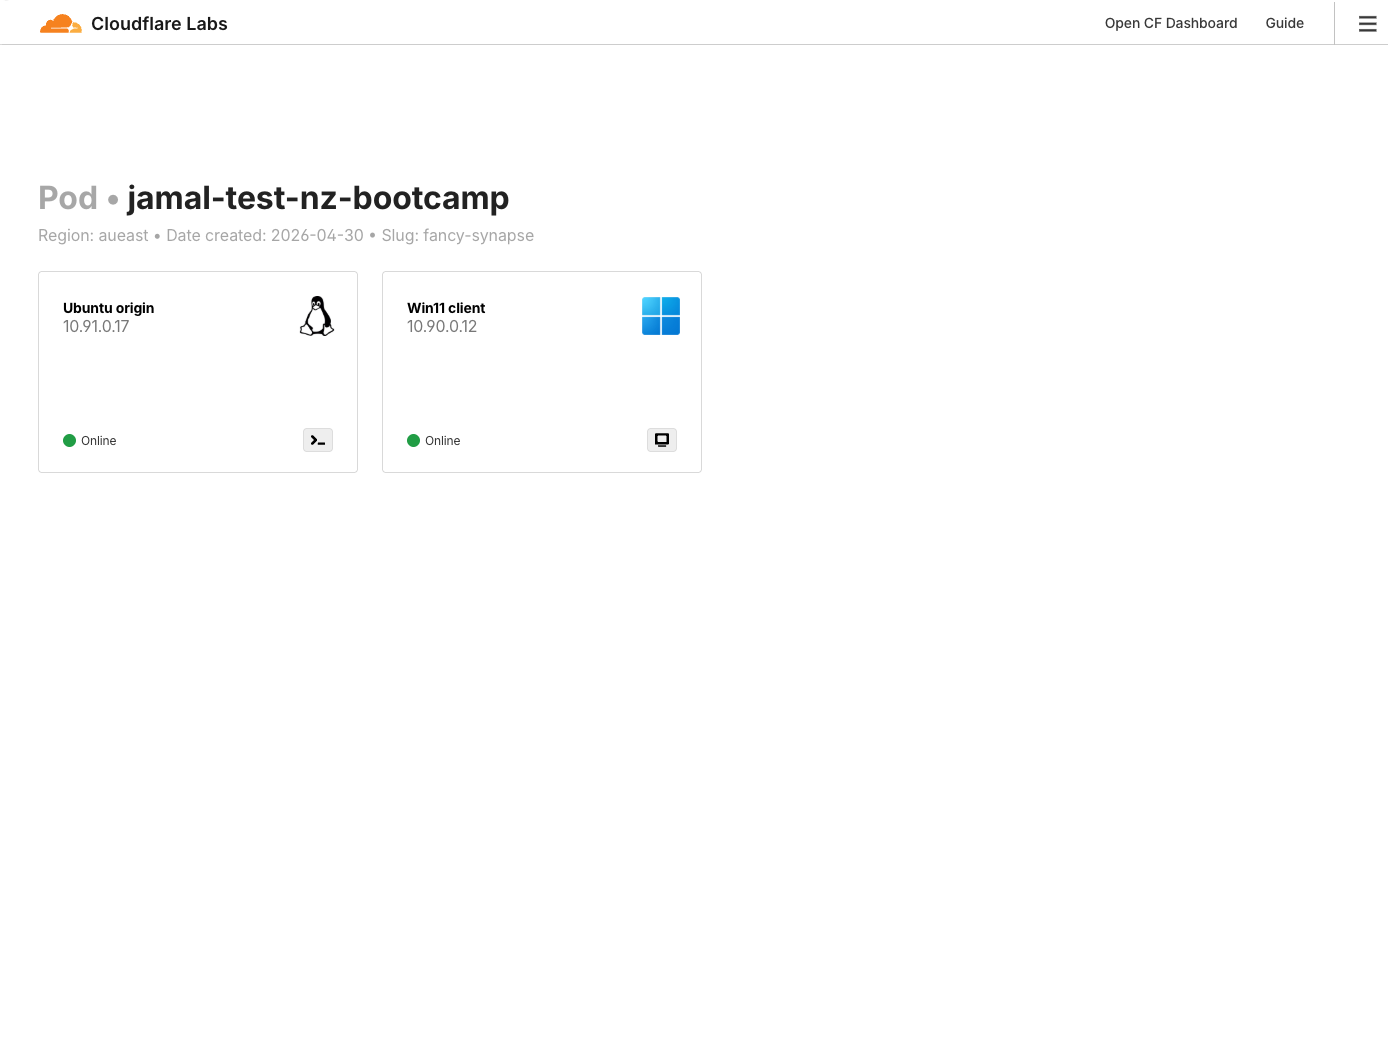
- You can access your Windows 11 VM at https://labs.cloudflare.com/
- On your lab Windows 11 VM, open the preinstalled Cloudflare One Client
- Select Preferences
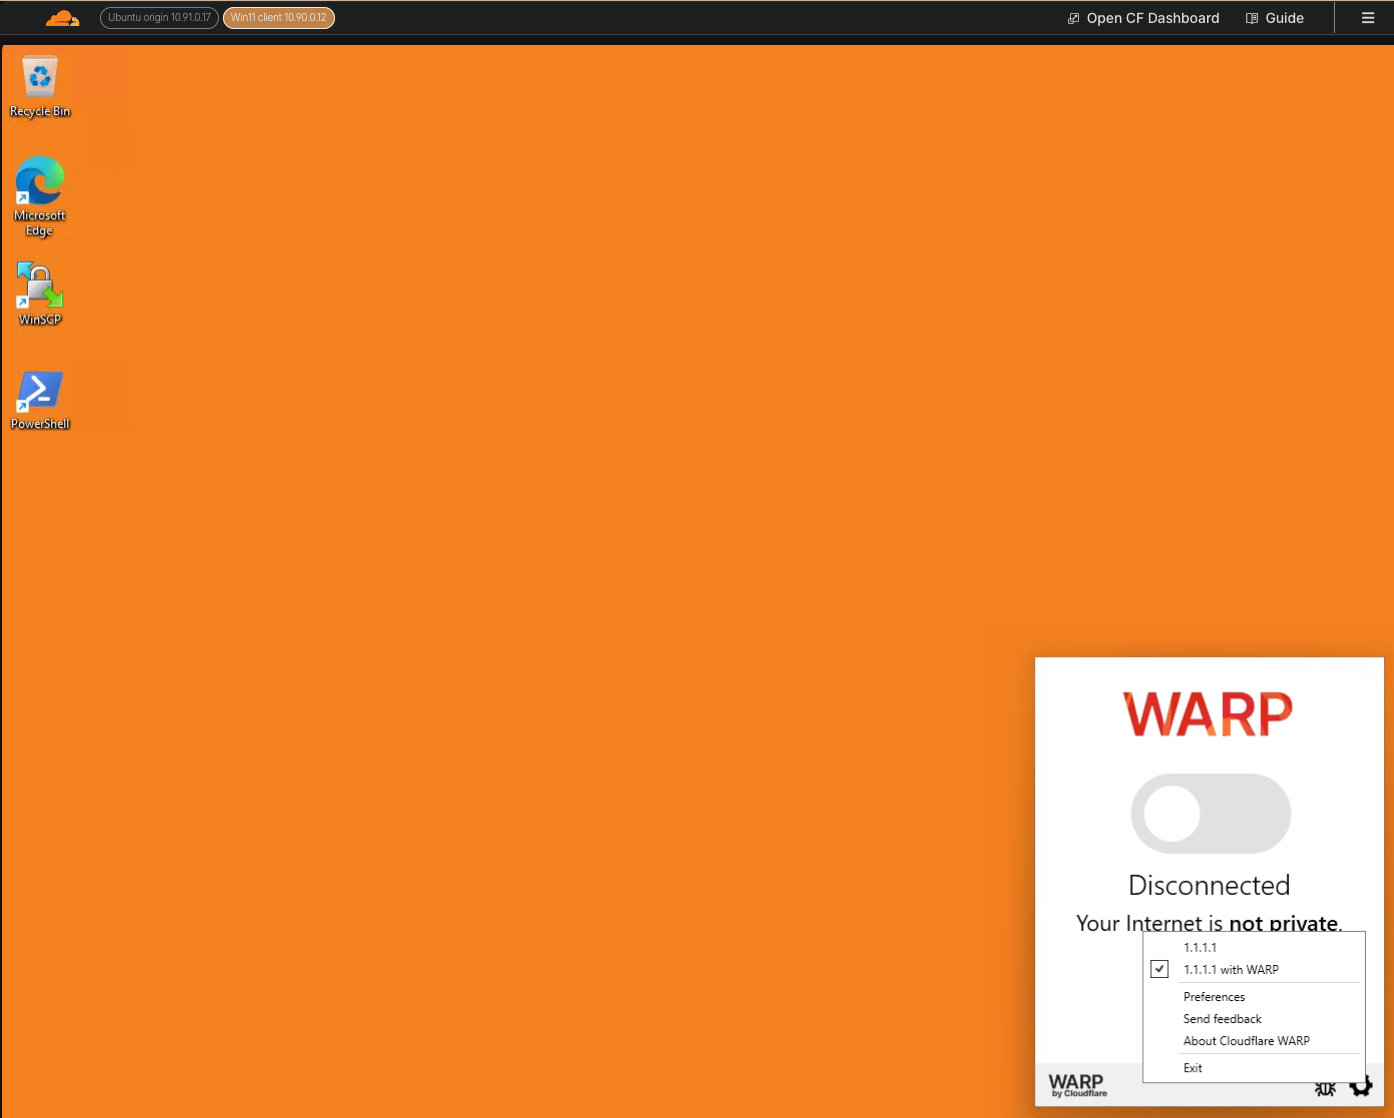
If your VM's desktop has a black background, the setup has not completed yet. Wait a minute or two for it to turn orange.
Step 3: Log In to Zero Trust
-
In the CF1 Client, go to Account > Login with Cloudflare Zero Trust
-
When asked for a team name, enter your lab slug:
<your-slug>
For example: fancy-synapse
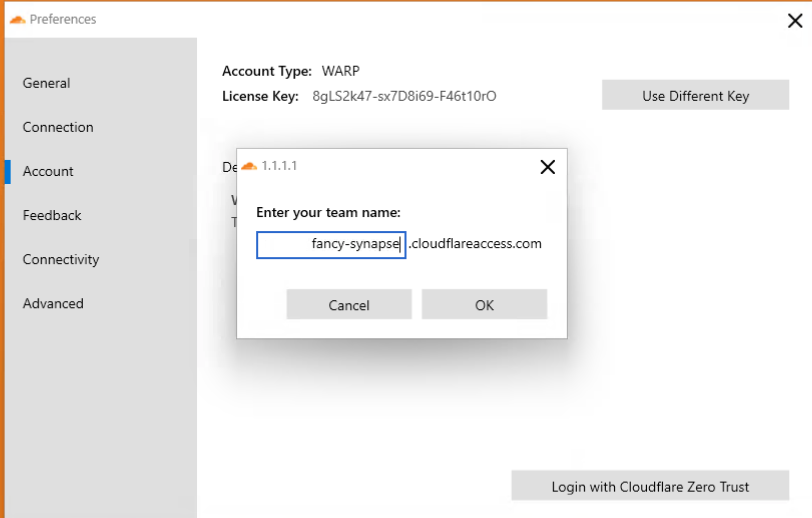
- Click Sign in with: SAML
- Log in with the test credentials:
| Field | Value |
|---|---|
itadmin@acmecorp.com | |
| Password | #Savetheinternet |
Step 4: Connect WARP
- Once authenticated, toggle the grey switch in the CF1 Client to connect to Cloudflare's network
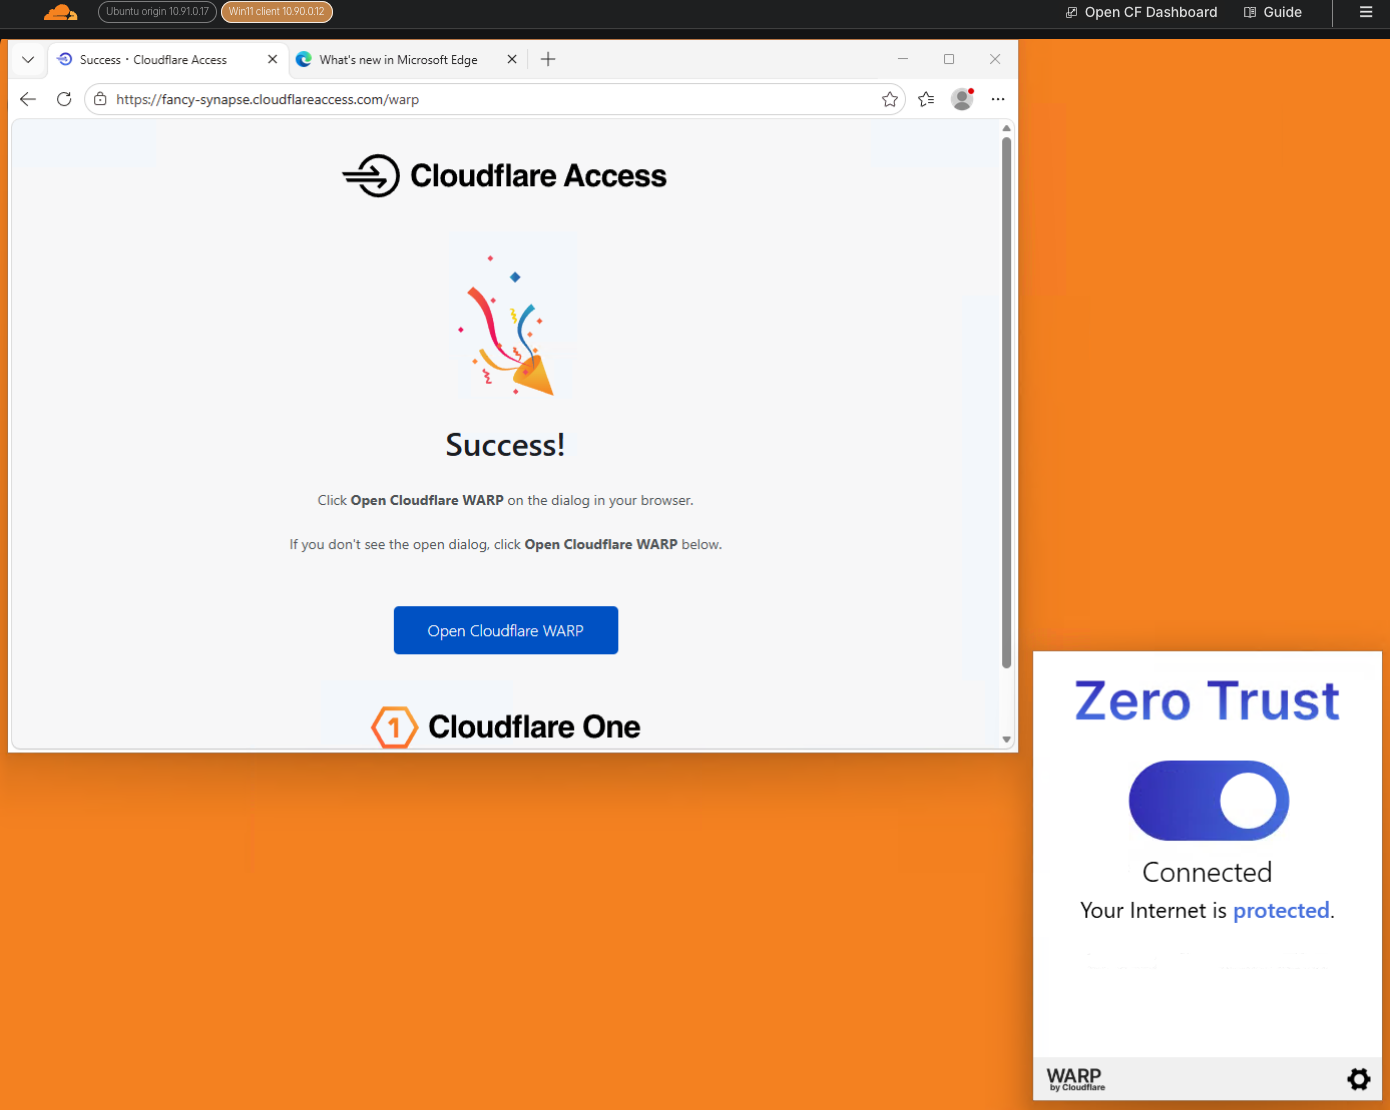
Expected Result
The CF1 Client shows a connected status. Your traffic is now routed through Cloudflare Gateway.
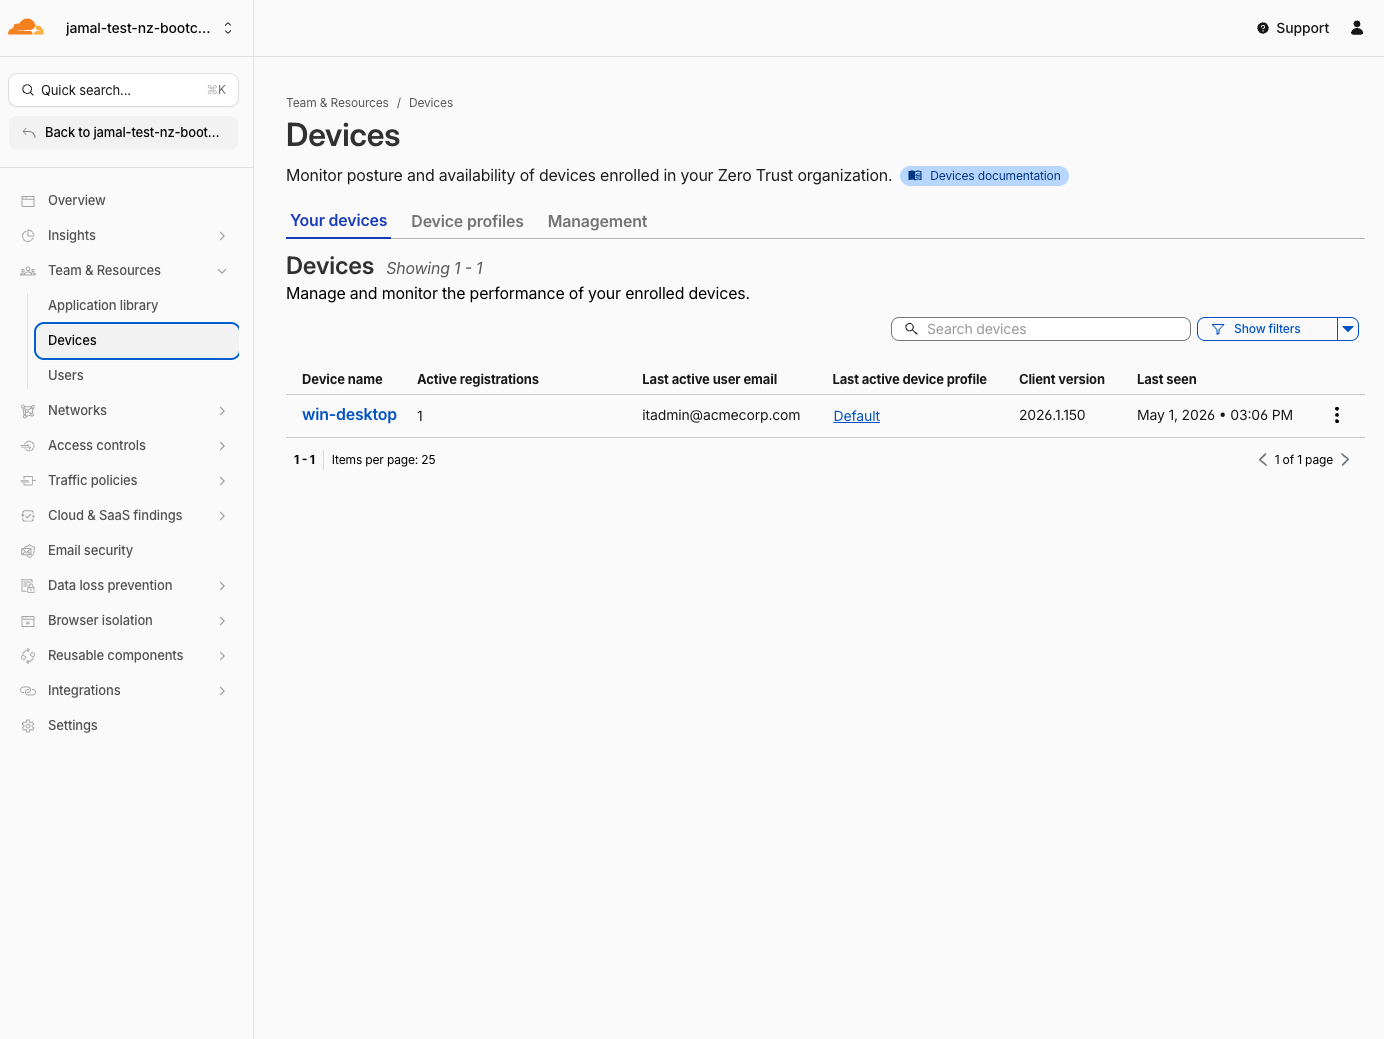
Go to the Cloudflare One dashboard Team & Resources > Devices and verify that your device is enrolled and connected.
Step 5: Verify Gateway Routing
Confirm that traffic inspection is enabled so Gateway policies will apply.
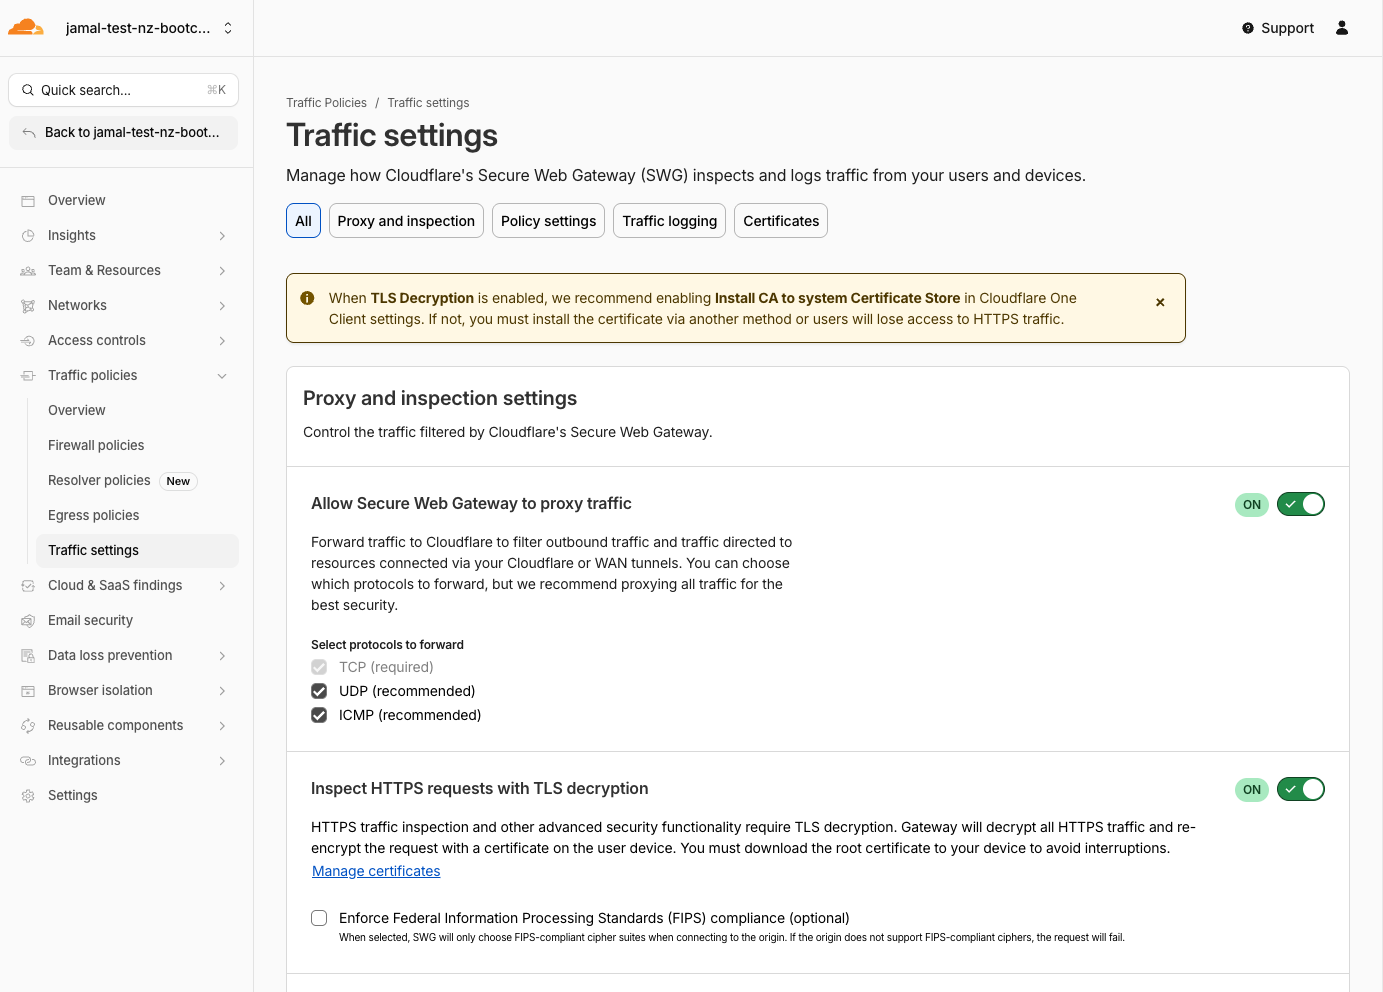
- In the Cloudflare One dashboard, open Traffic Policies > Traffic Settings
- Select the Proxy and inspection section
- Verify the following are enabled:
- Allow Secure Web Gateway to proxy traffic (including UDP and ICMP)
- Inspect HTTPS requests with TLS decryption
 4. Force install the Certificate to devices
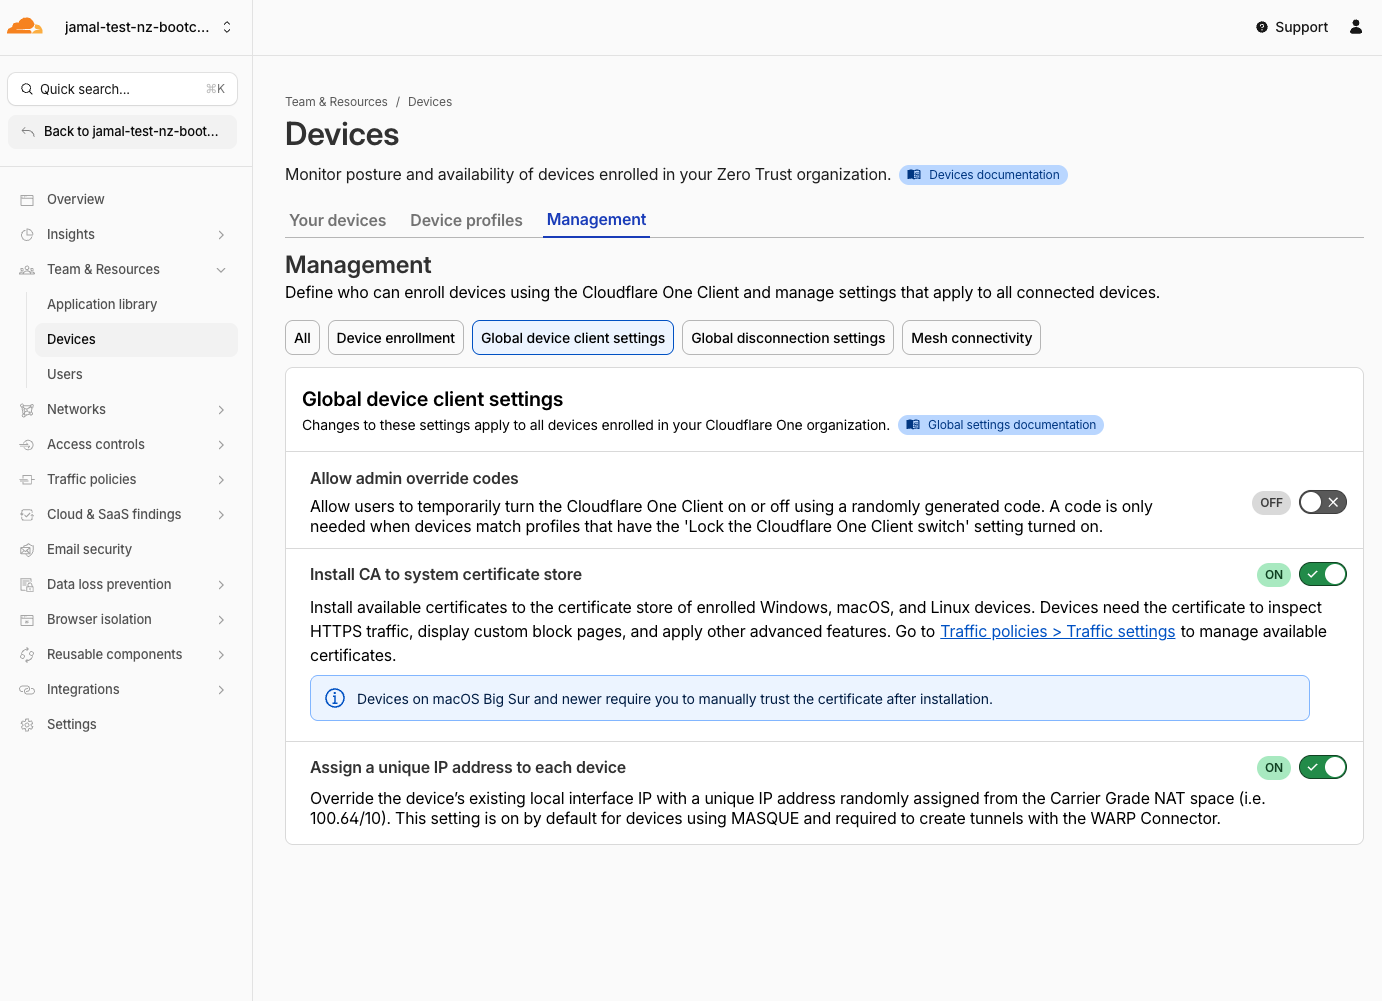
- Navigate to Teams & Resources > Devices > Management
- Select PGlobal Devicie client settings
- Enable Install CA to system certificate stores
This step is required to ensure that the certificate is installed on the device and can be used for HTTPS inspection. You may need to toggle ON and OFF the Cloudflare One Client on the Windows 11 VM to force the install of the certificates. This steps should be ideally done before deploying the Cloudflare One Client.
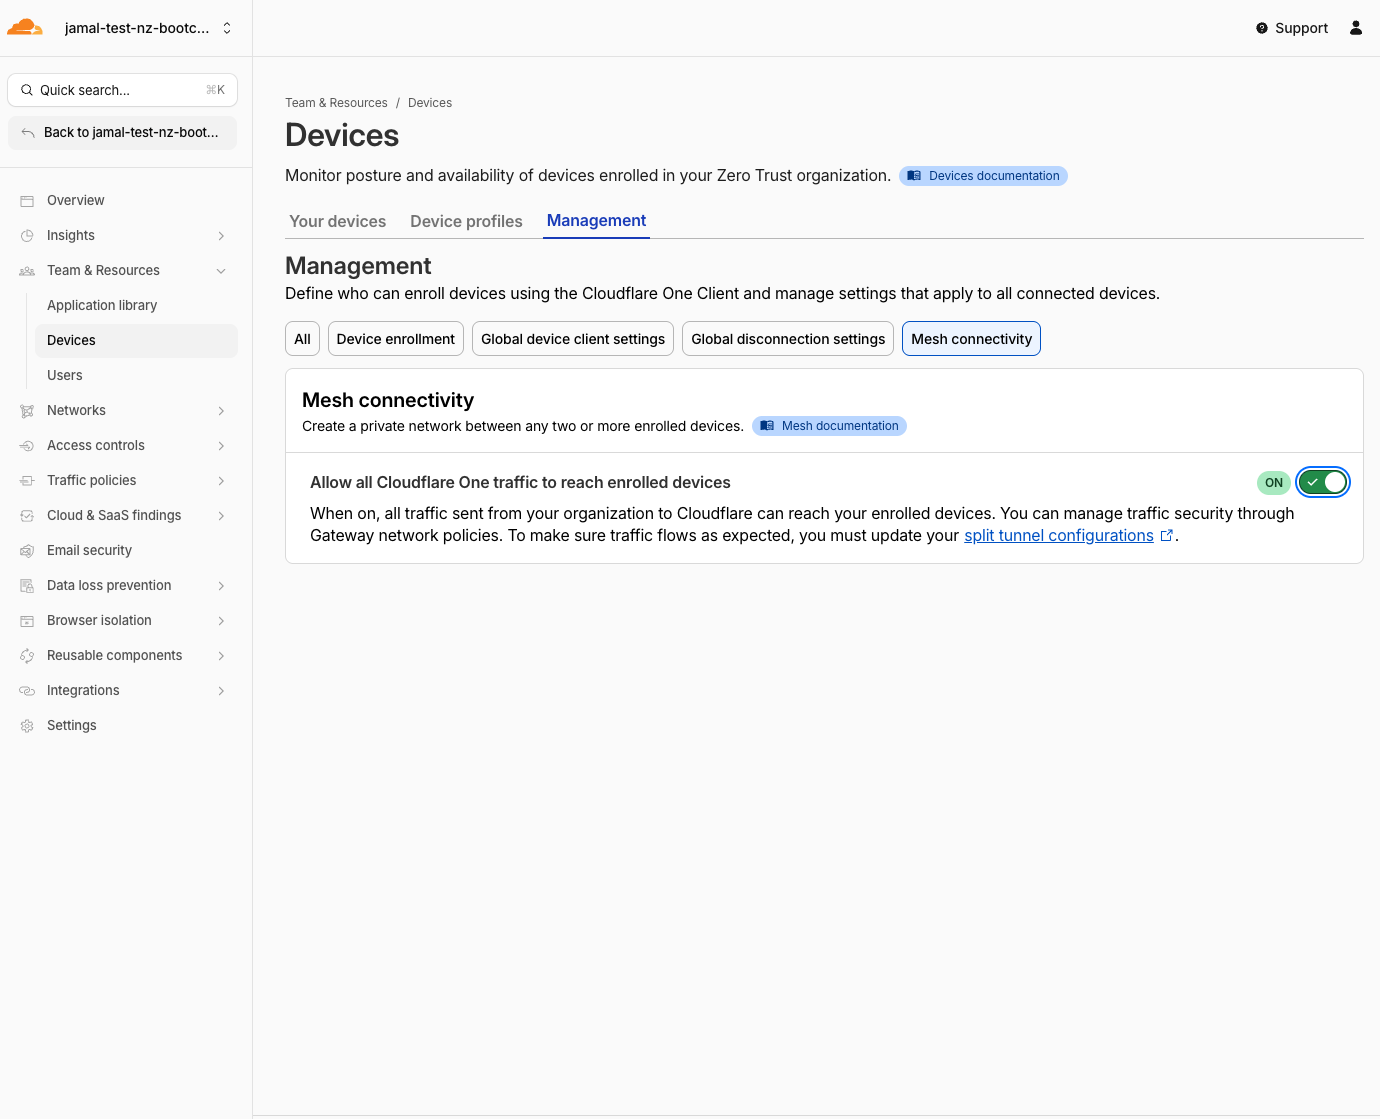
- Also verify peer-to-peer connectivity:
- Navigate to Teams & Resources > Devices > Management
- Select Mesh connectivity
- Enable Allow all Cloudflare One traffic to reach enrolled devices
Expected Result
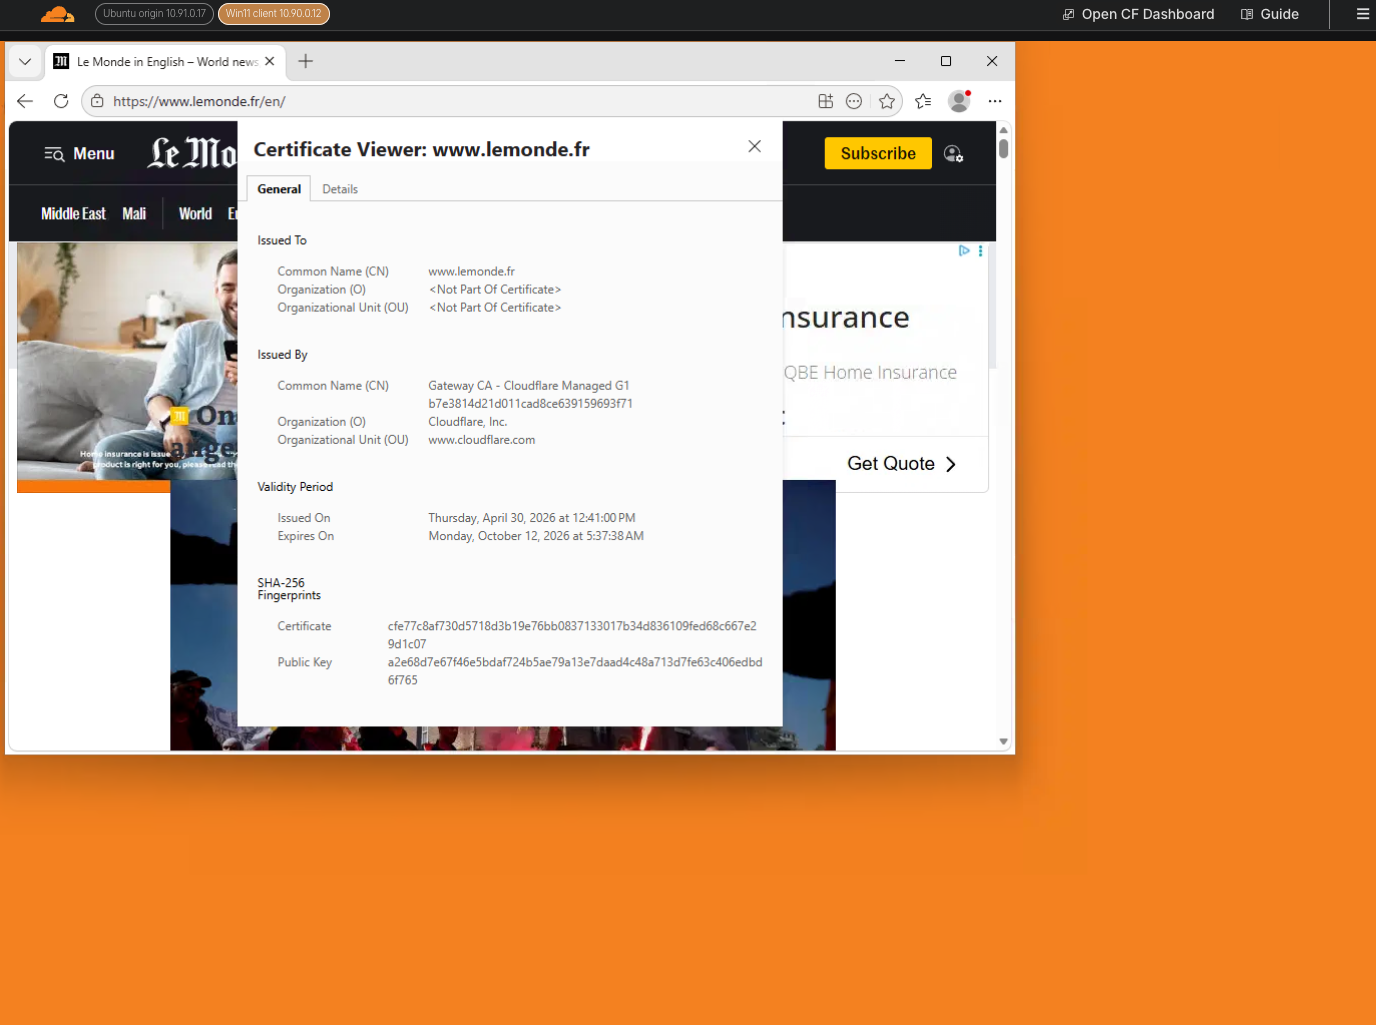
All traffic from the Windows 11 VM now flows through Cloudflare Gateway. HTTP inspection is active. You are ready for Gateway policy enforcement in M4 and M5. Try to access any website from the Windows 11 VM to confirm that the traffic is being routed through Cloudflare Gateway. You can confirm the traffic is being routed through Cloudflare Gateway by:
- checking the certificate in the browser - it should show Cloudflare's certificate.
- checking the Cloudflare logs in the dashboard Insights>logs>HTTP request logs - it should show the traffic going through Cloudflare's proxy.
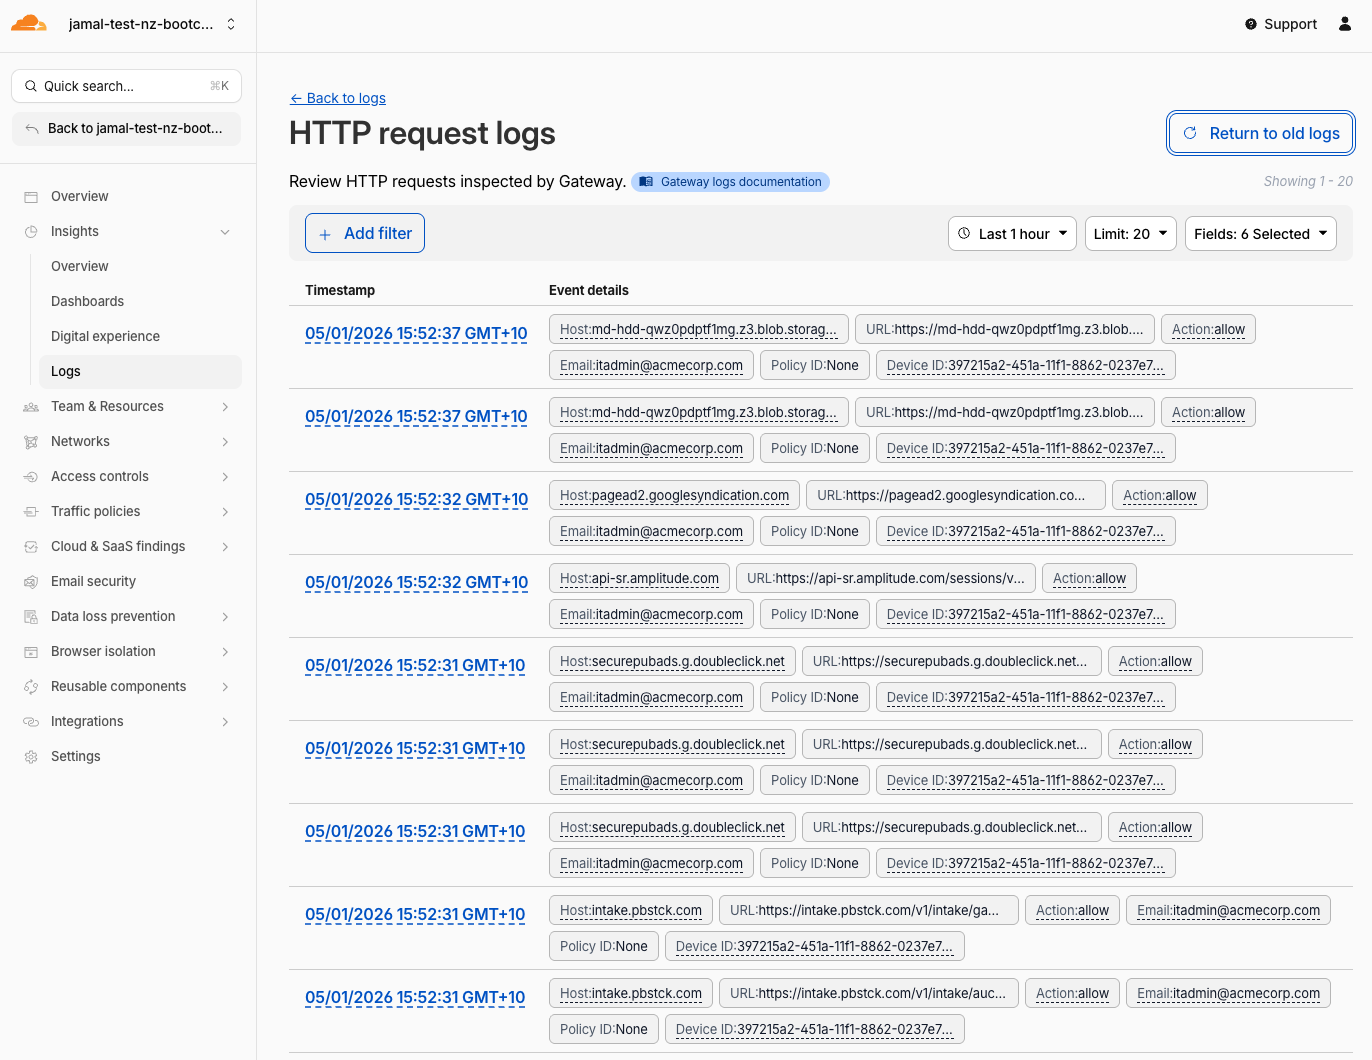
Validation
- Device enrollment policy configured with an existing Access policy
- CF1 Client opened on the Windows 11 VM
- Logged in with SAML credentials (
itadmin@acmecorp.com) - WARP toggle is connected (green/active)
- SWG proxy and HTTPS inspection are enabled
- Mesh connectivity is enabled
- Browser certificate shows Cloudflare's certificate
- HTTP request logs show traffic going through Cloudflare's proxy
- Ready for Gateway policy enforcement in M4 and M5
Troubleshooting
CF1 Client not installed on the VM
- The client should be preinstalled on the Windows 11 VM
- If it's missing, download it from one.one.one.one or the Cloudflare One Client downloads page
- Ask the facilitator for help
WARP connects but immediately disconnects
- Verify the enrollment policy includes your test user
- Check that the team name matches your lab slug exactly
- Try toggling WARP off and on again
- Check the CF1 Client logs for error details
Cannot sign in with SAML
- Ensure the SAML IdP was configured successfully in the previous step
- Wait 60 seconds if you just created the IdP
- Try clearing browser cookies and retrying
- Verify the team name is correct
No Gateway logs after connecting
- Verify Proxy is enabled in Traffic Settings
- Verify HTTPS inspection is enabled
- Try browsing to a website and check if Gateway HTTP logs appear
- It may take 1-2 minutes for the first logs to appear
Ubuntu client setup
If your lab also uses an Ubuntu client:
- Install the CF1 Client:
curl -fsSL https://pkg.cloudflareclient.com/install.sh | sudo bash - Register:
warp-cli teams-enroll <your-slug> - Connect:
warp-cli connect - Verify:
warp-cli status