Configure Identity Provider
Task
Integrate a SAML-based Identity Provider (IdP) with Cloudflare One so that Access and MCP portal authentication work in later modules.
Why
Cloudflare Access verifies user identity but does not manage users directly. It relies on Identity Providers (IdPs) to do so. By integrating Access with a SAML IdP, you provide a list of authorized users that Access can verify against.
This IdP is used later for:
- Access policies (M0)
- CF1 Client enrollment (M0)
- MCP portal authentication (M5)
Cloudflare Access refers to the suite of products that manage access control policies and identity provider integrations.
What You Are Configuring
- A SAML identity provider in your Zero Trust organization
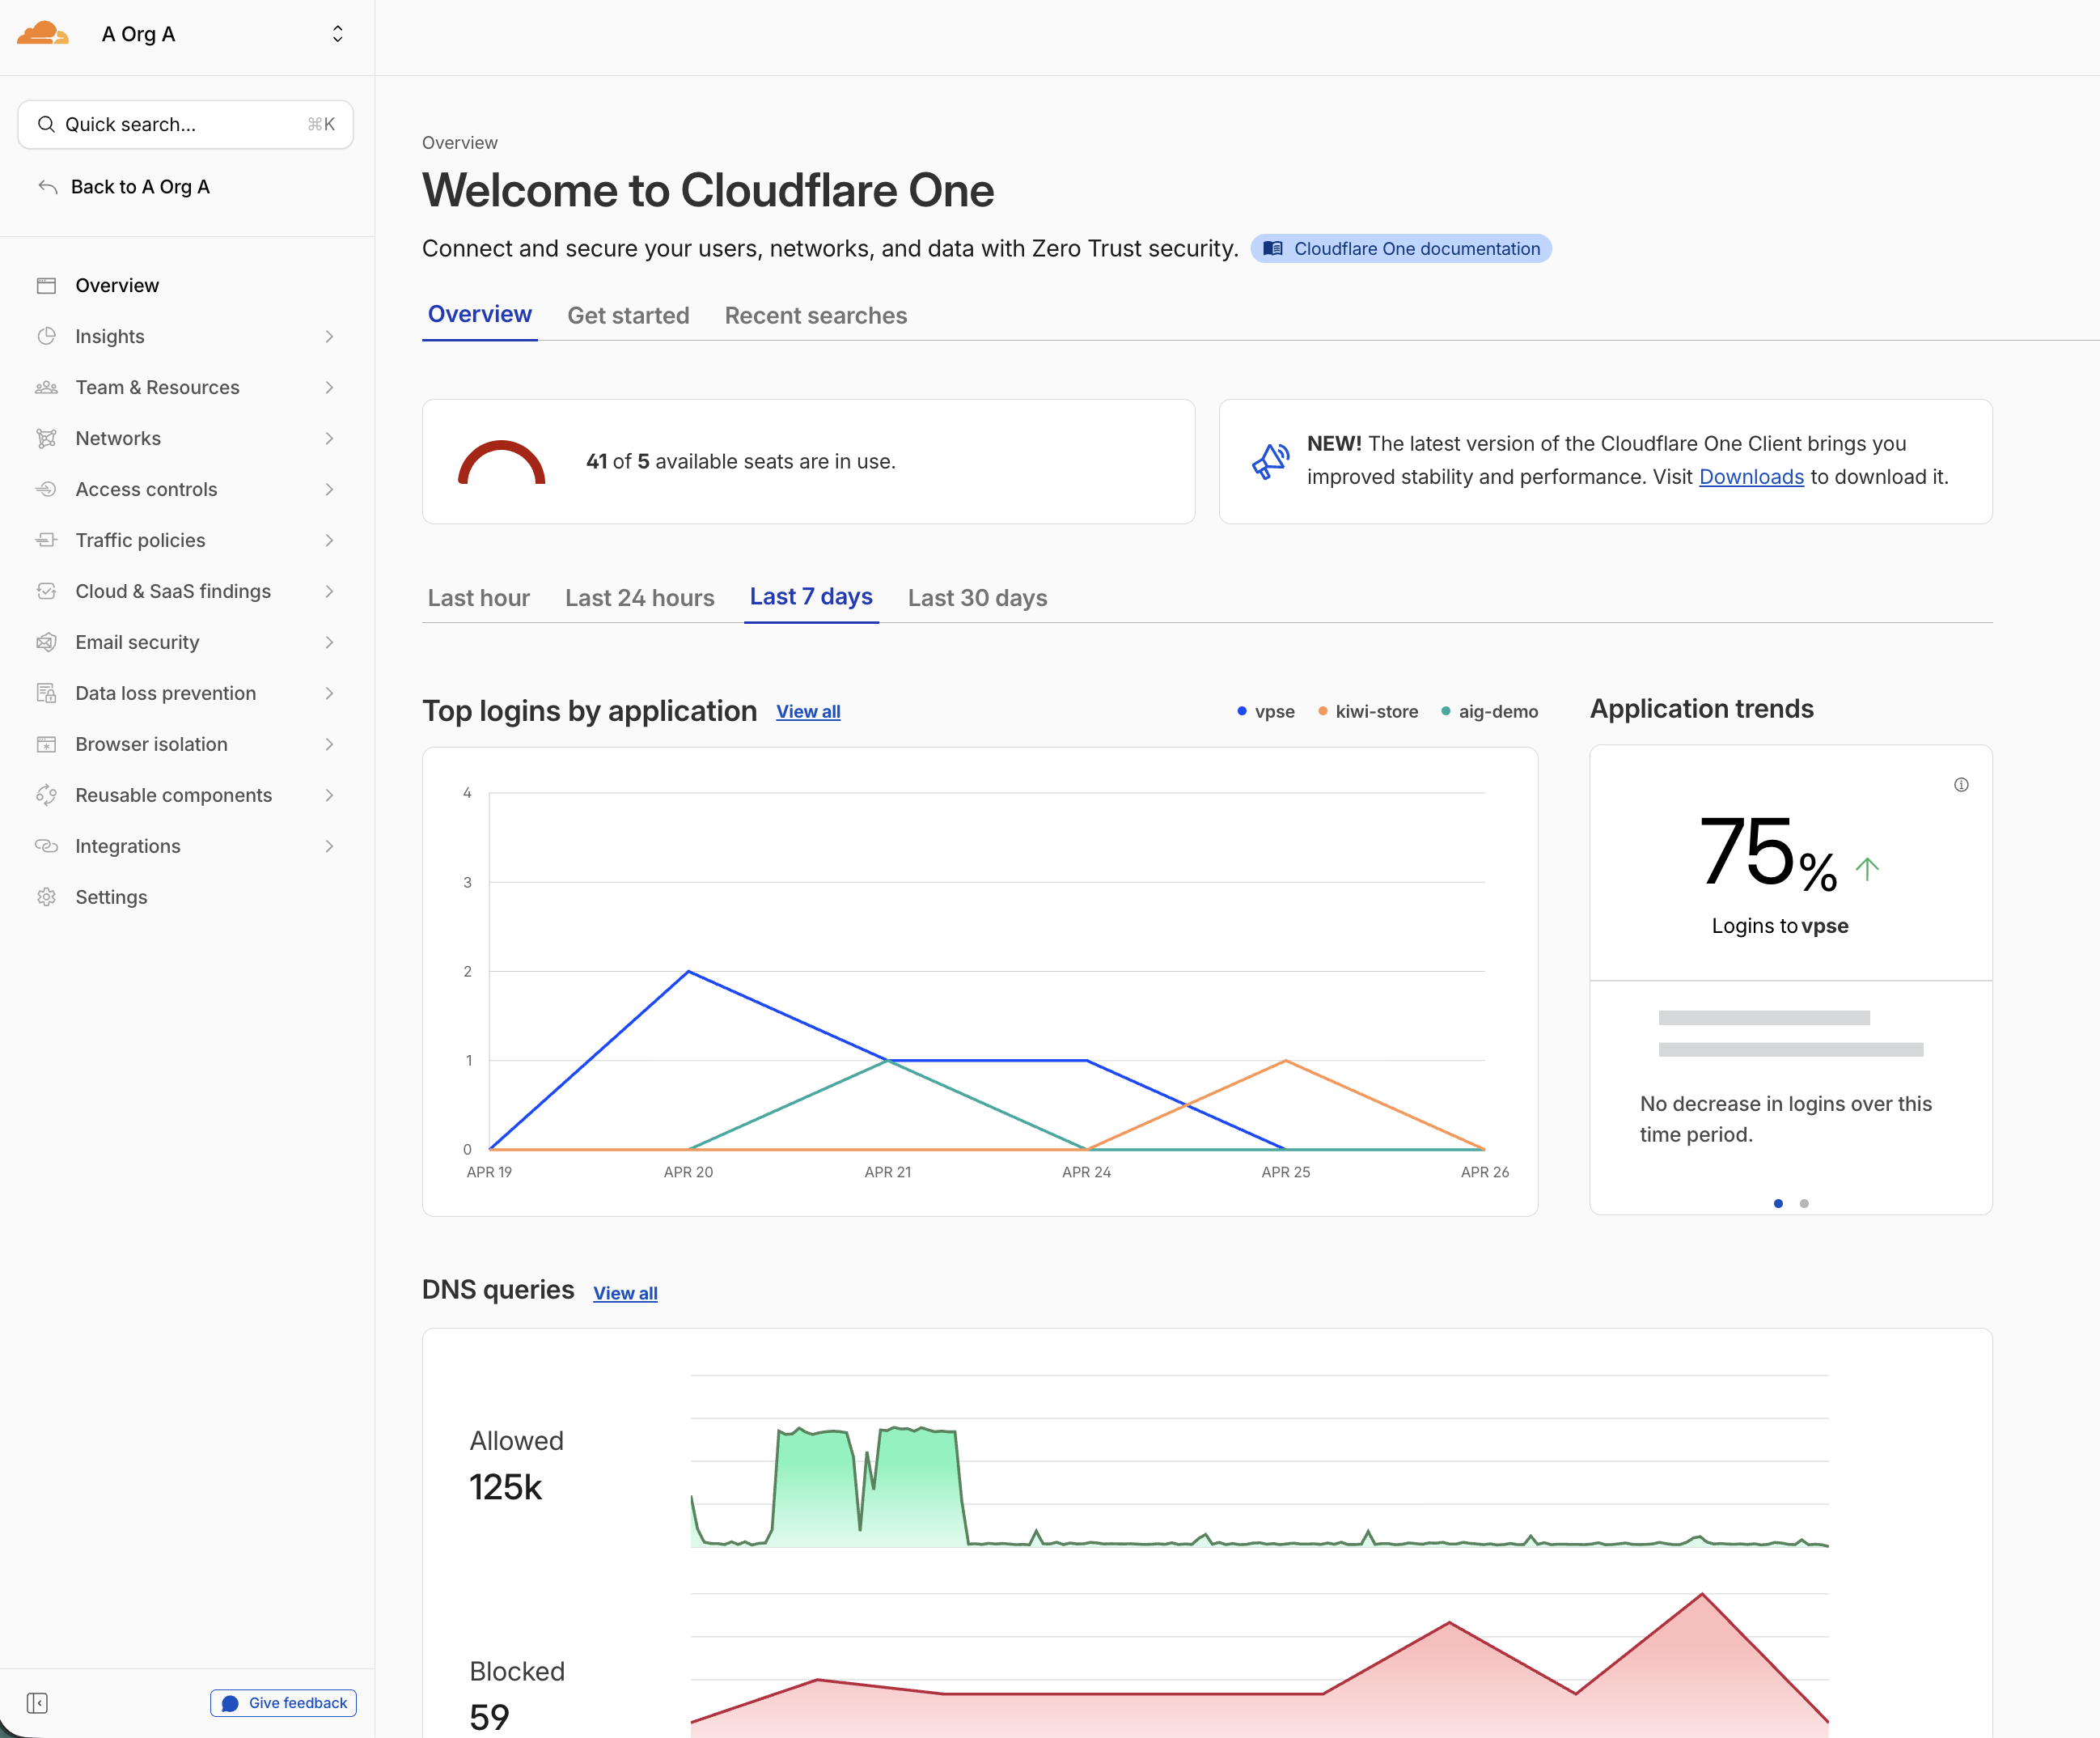
Step 1: Log in and Open the Cloudflare One Dashboard
- Open dash.cloudflare.com
- Log in with your lab credentials
- Navigate to the Cloudflare One dashboard (or open dash.cloudflare.com/one)
Step 2: Verify Your Team Domain Prefix
- In your Cloudflare One dashboard, navigate to Settings
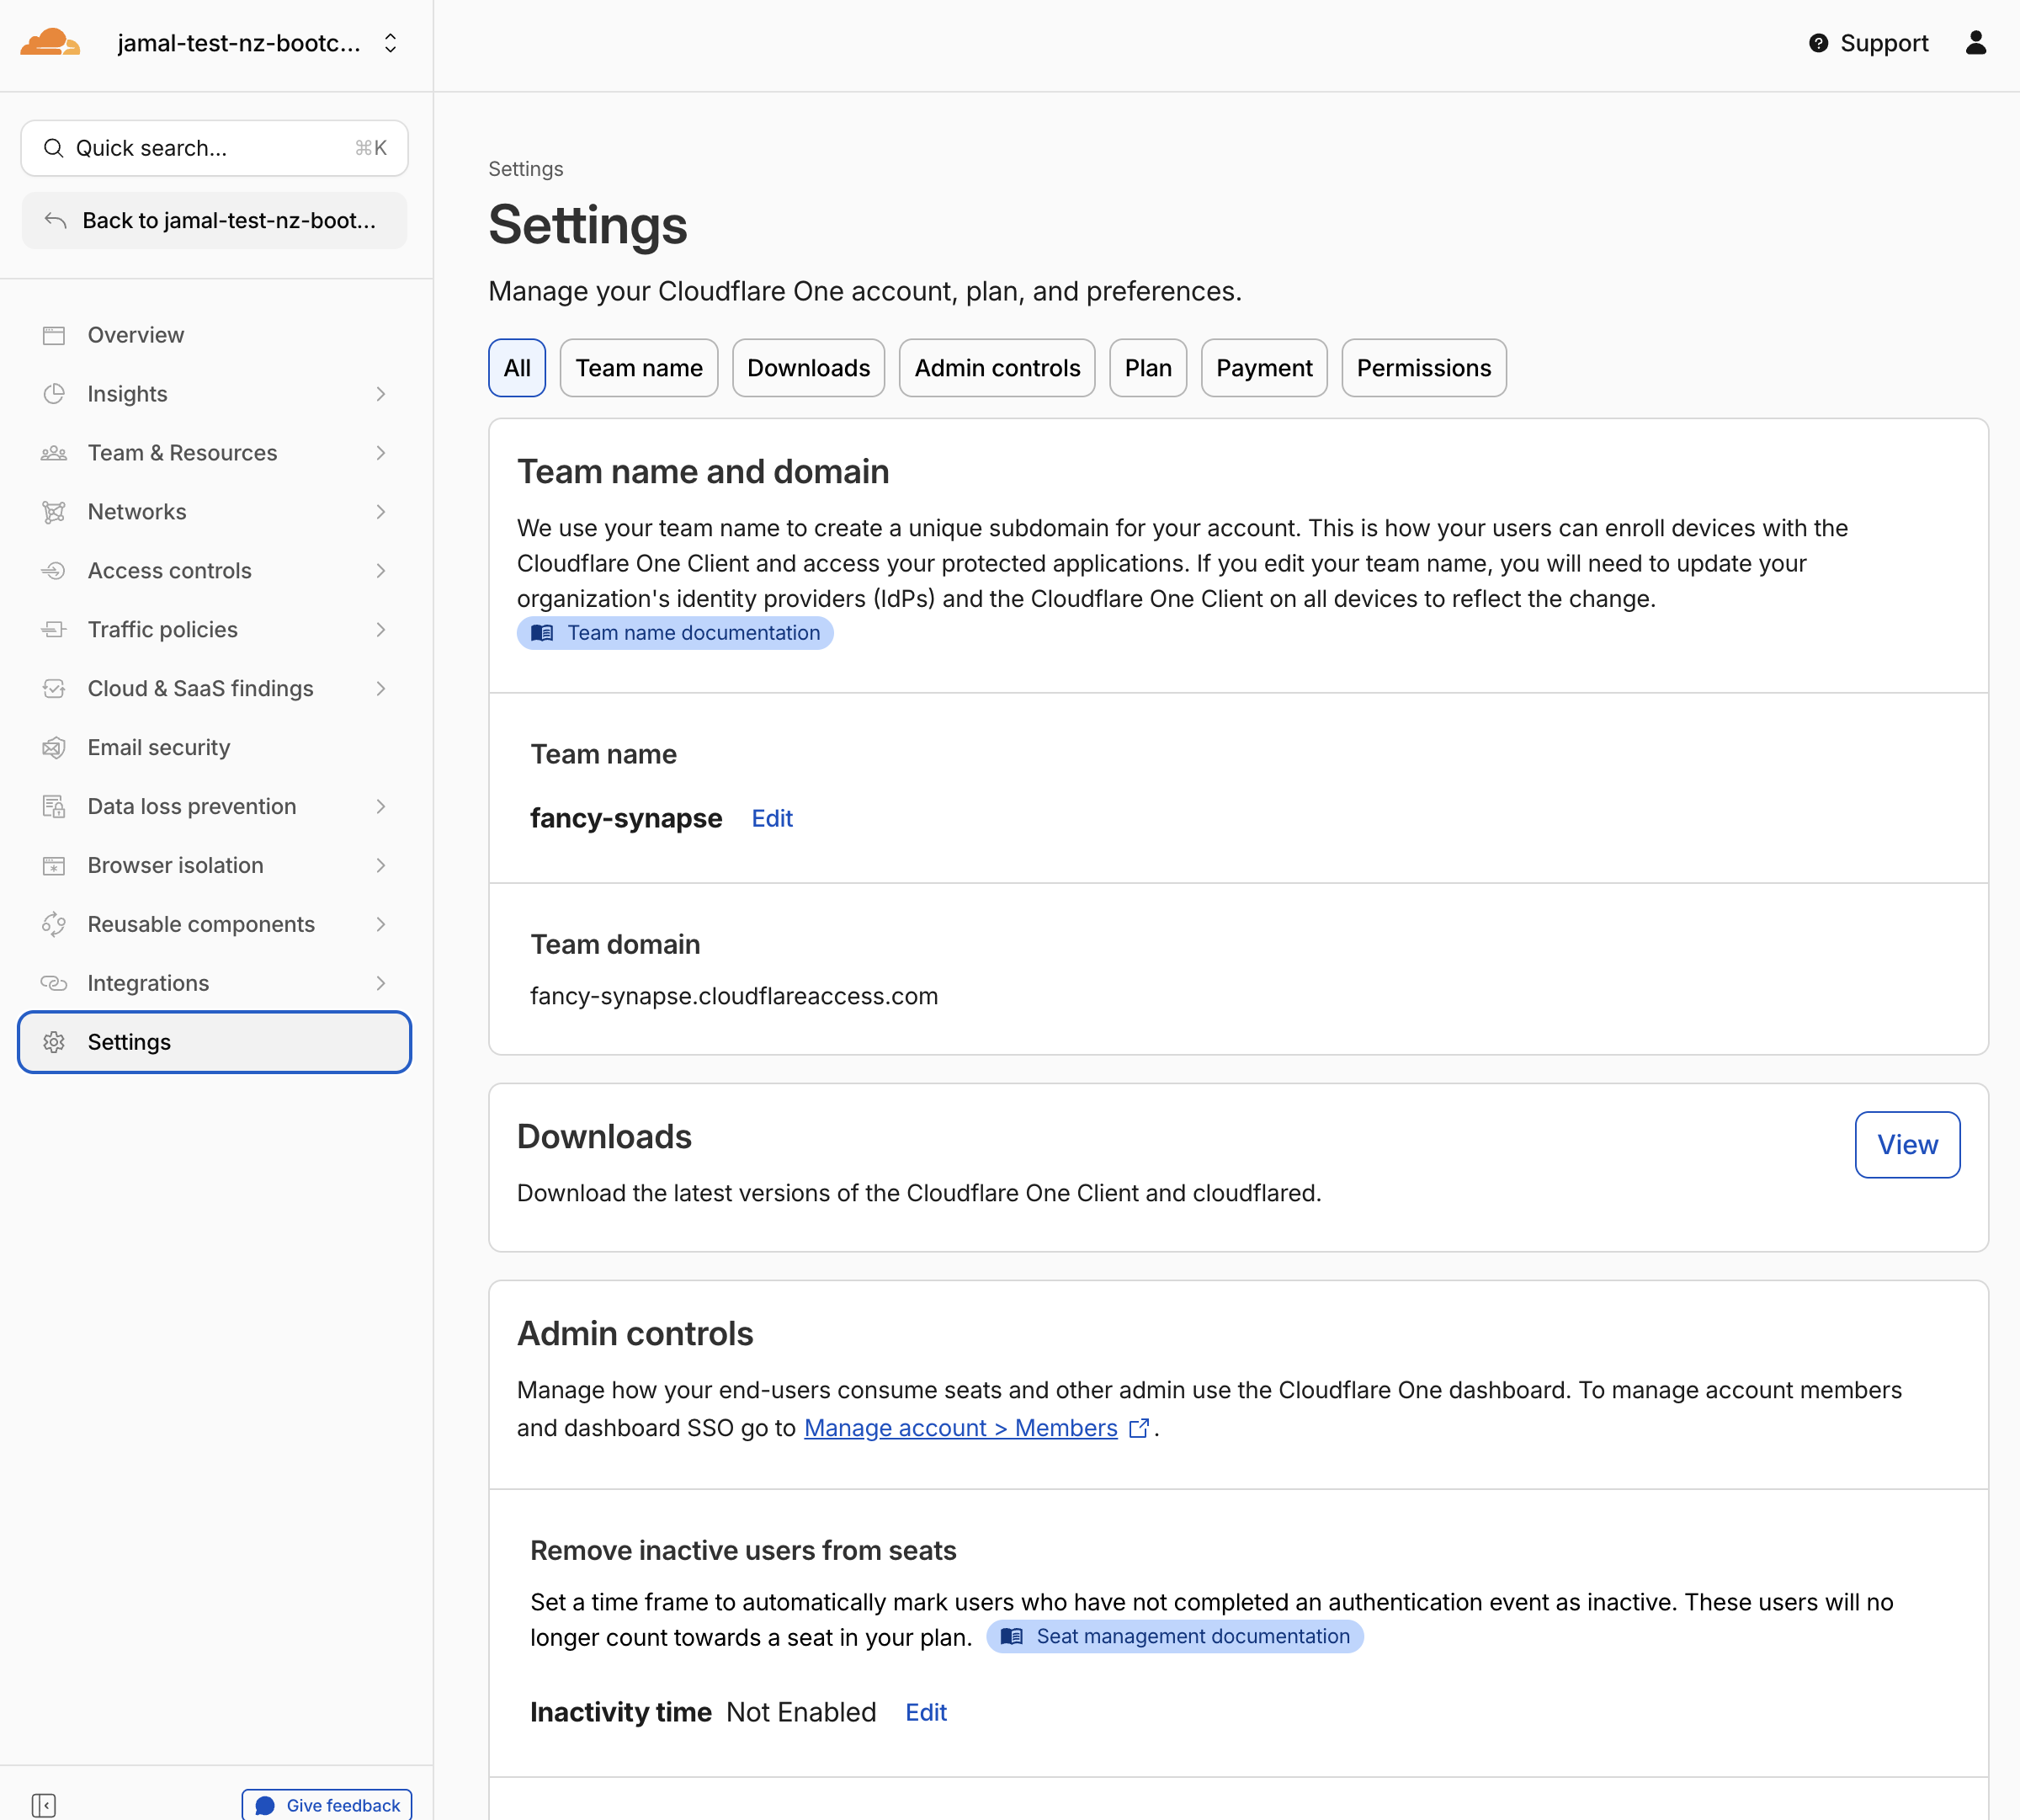
- Verify that your Team domain is set — it will be based on your lab slug:
<your-slug>.cloudflareaccess.com
For example: adjective-noun.cloudflareaccess.com
The Team domain must be unique across Cloudflare. If the domain for your lab slug was already taken, a random suffix will be added (e.g., adjective-noun-1234.cloudflareaccess.com).
If this is the case, include this random suffix in your slug when setting up the SAML provider in the next step.
If you don't see a team domain set up, you are probably not using the lab account created for you. Double-check:
- You received the Cloudflare account invite email and accepted it
- You have switched to your lab account in the Cloudflare dashboard
Step 3: Create the SAML Provider
- Open this URL: https://labs.cloudflare.com/saml/register
Please use your work email to receive the code for accessing the SAML server for the initial setup :::
-
Paste in your lab slug (e.g.,
adjective-noun)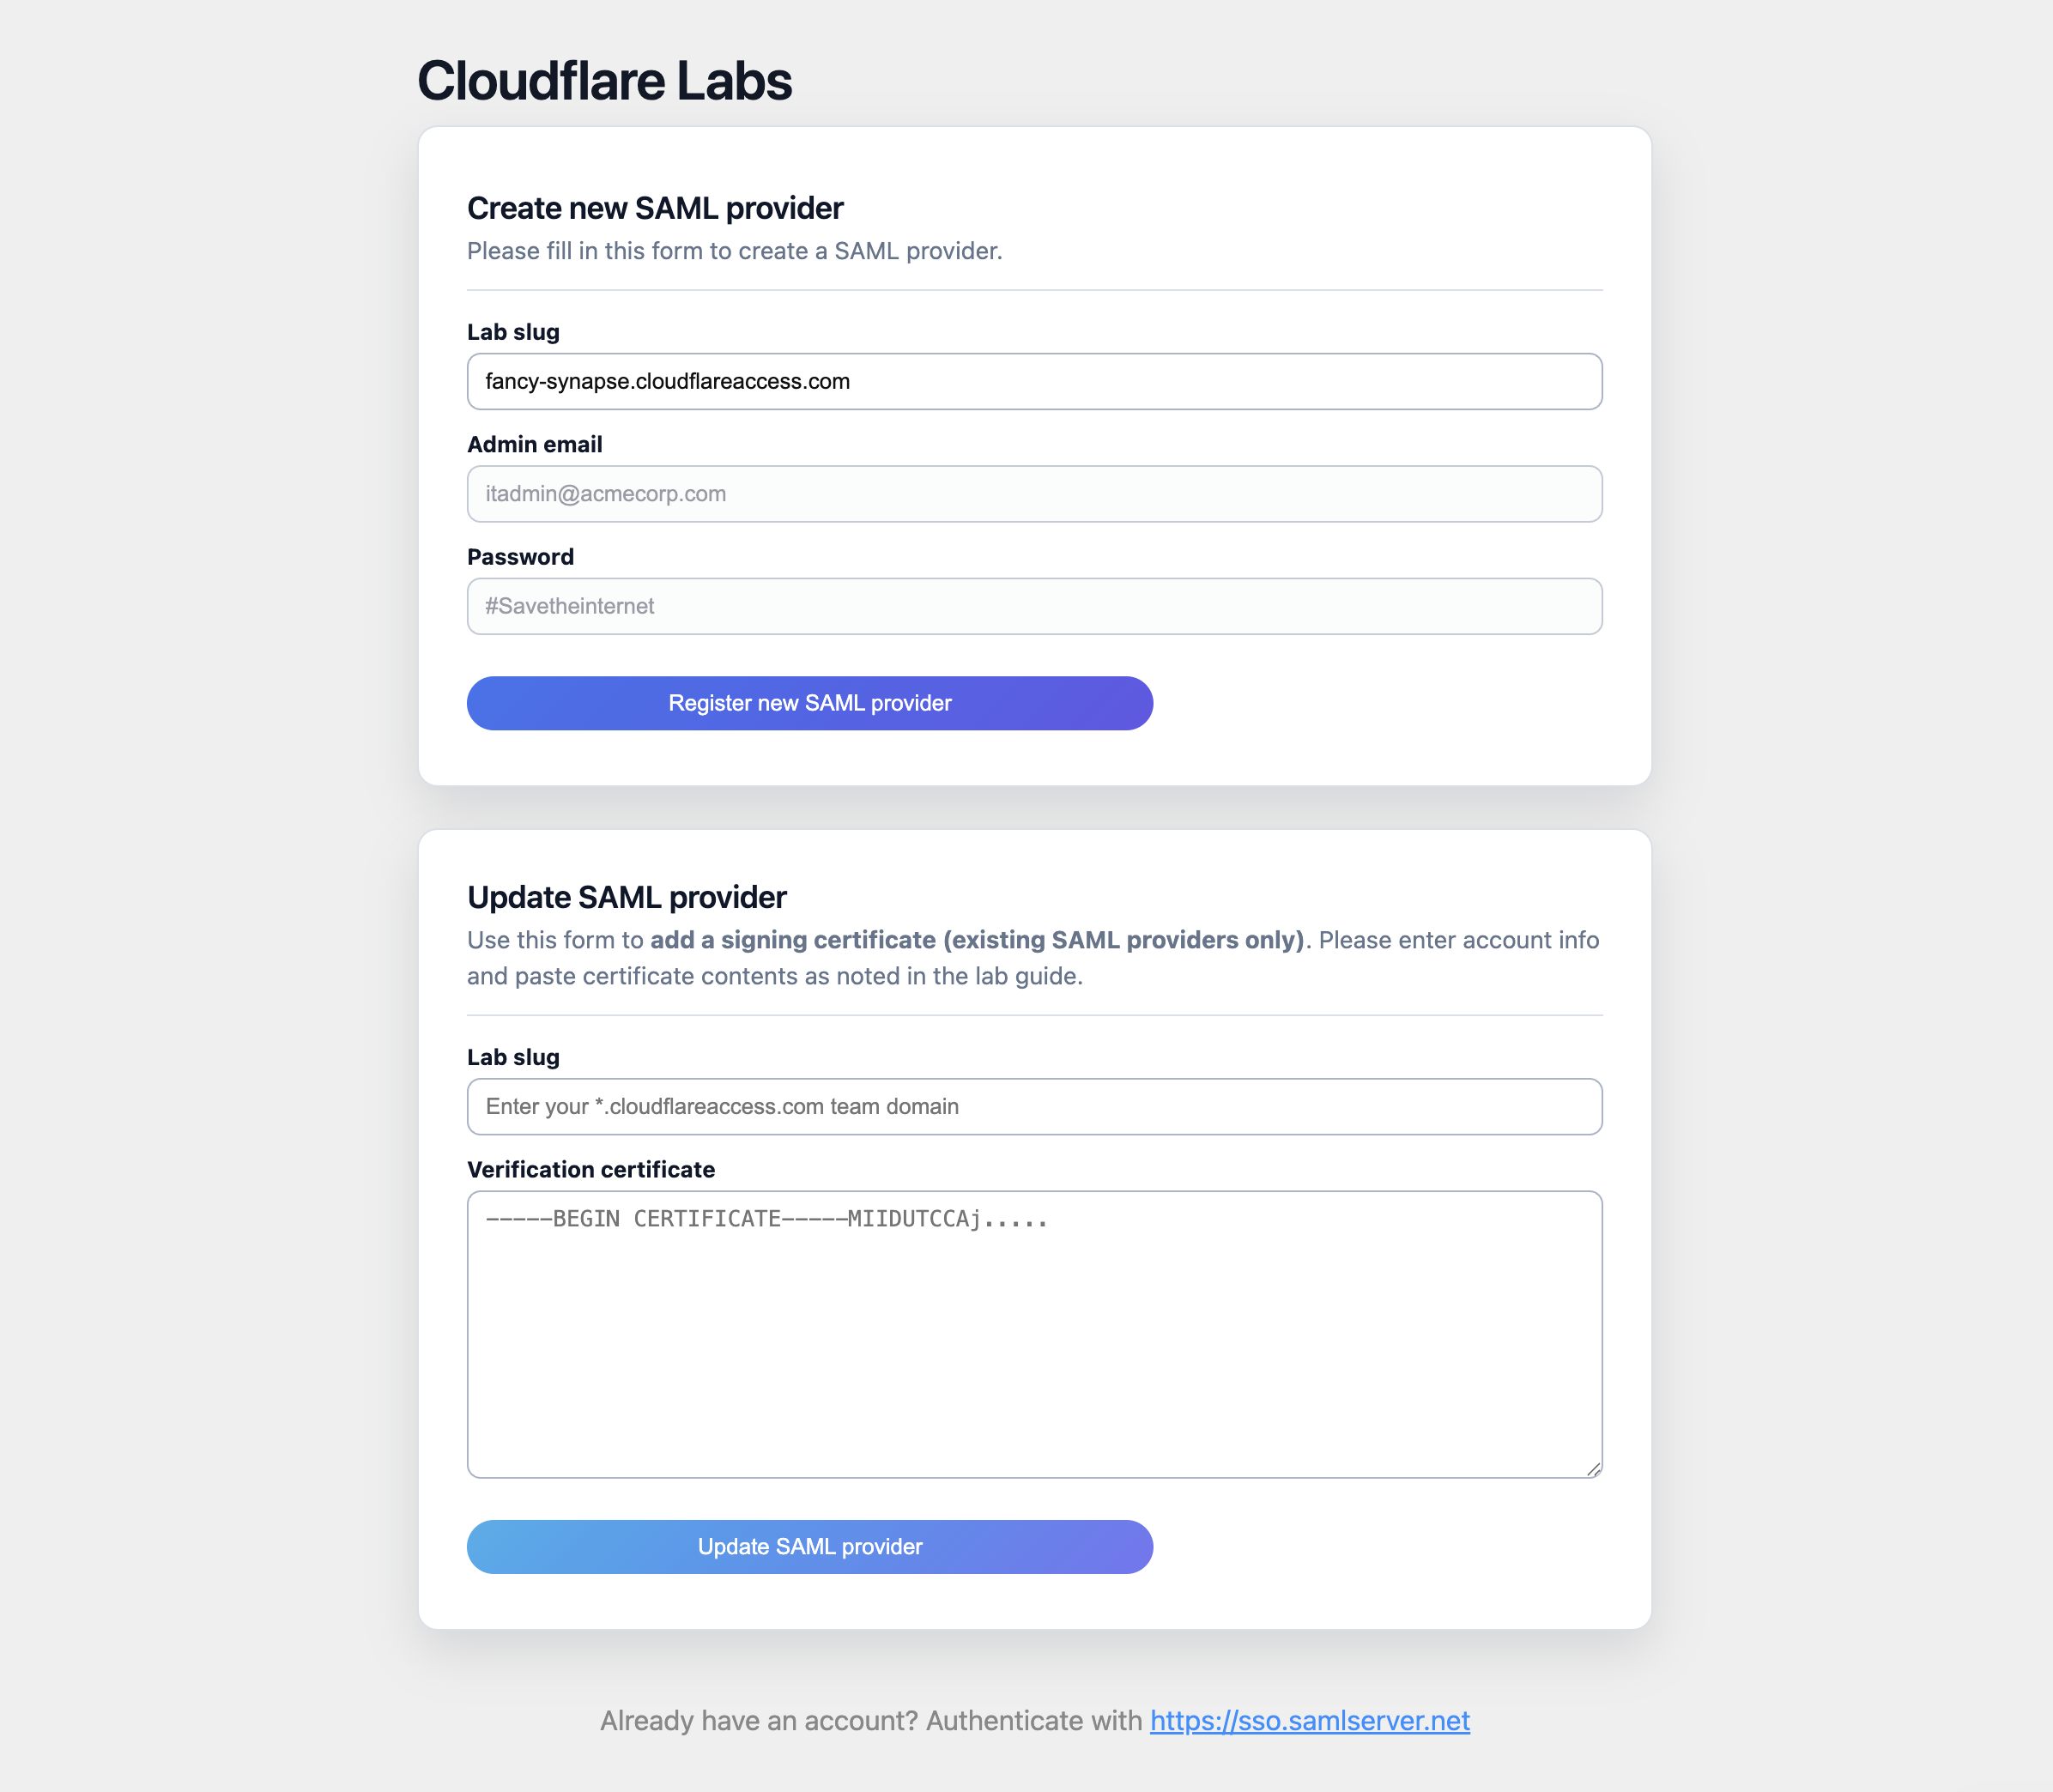
-
Click "Register new SAML provider"
-
The page will generate a SAML provider for your organization
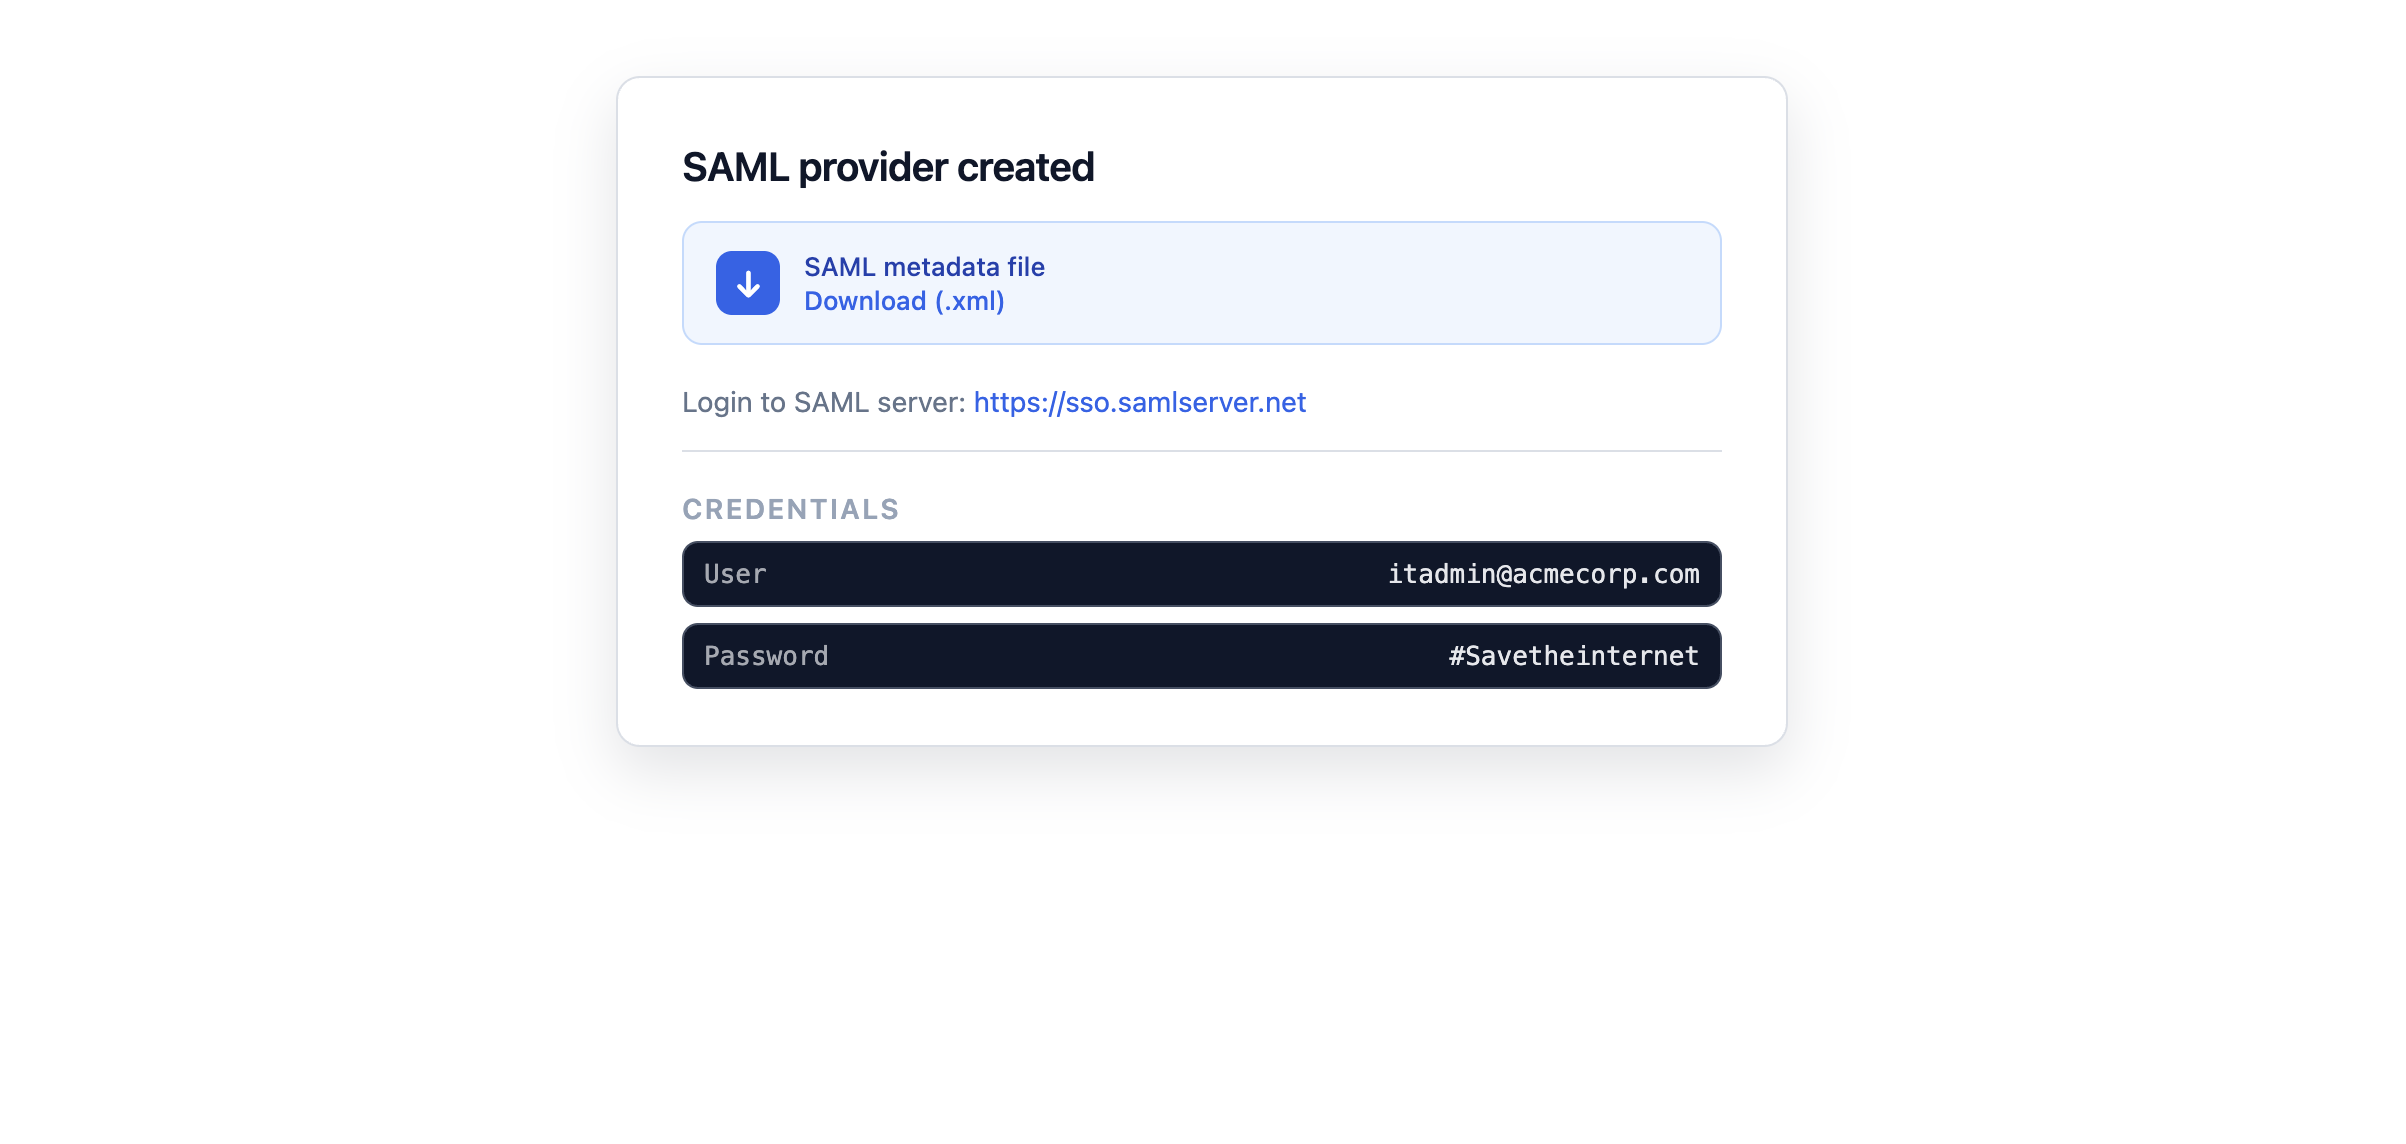
-
Download the SAML metadata file by clicking the provided link
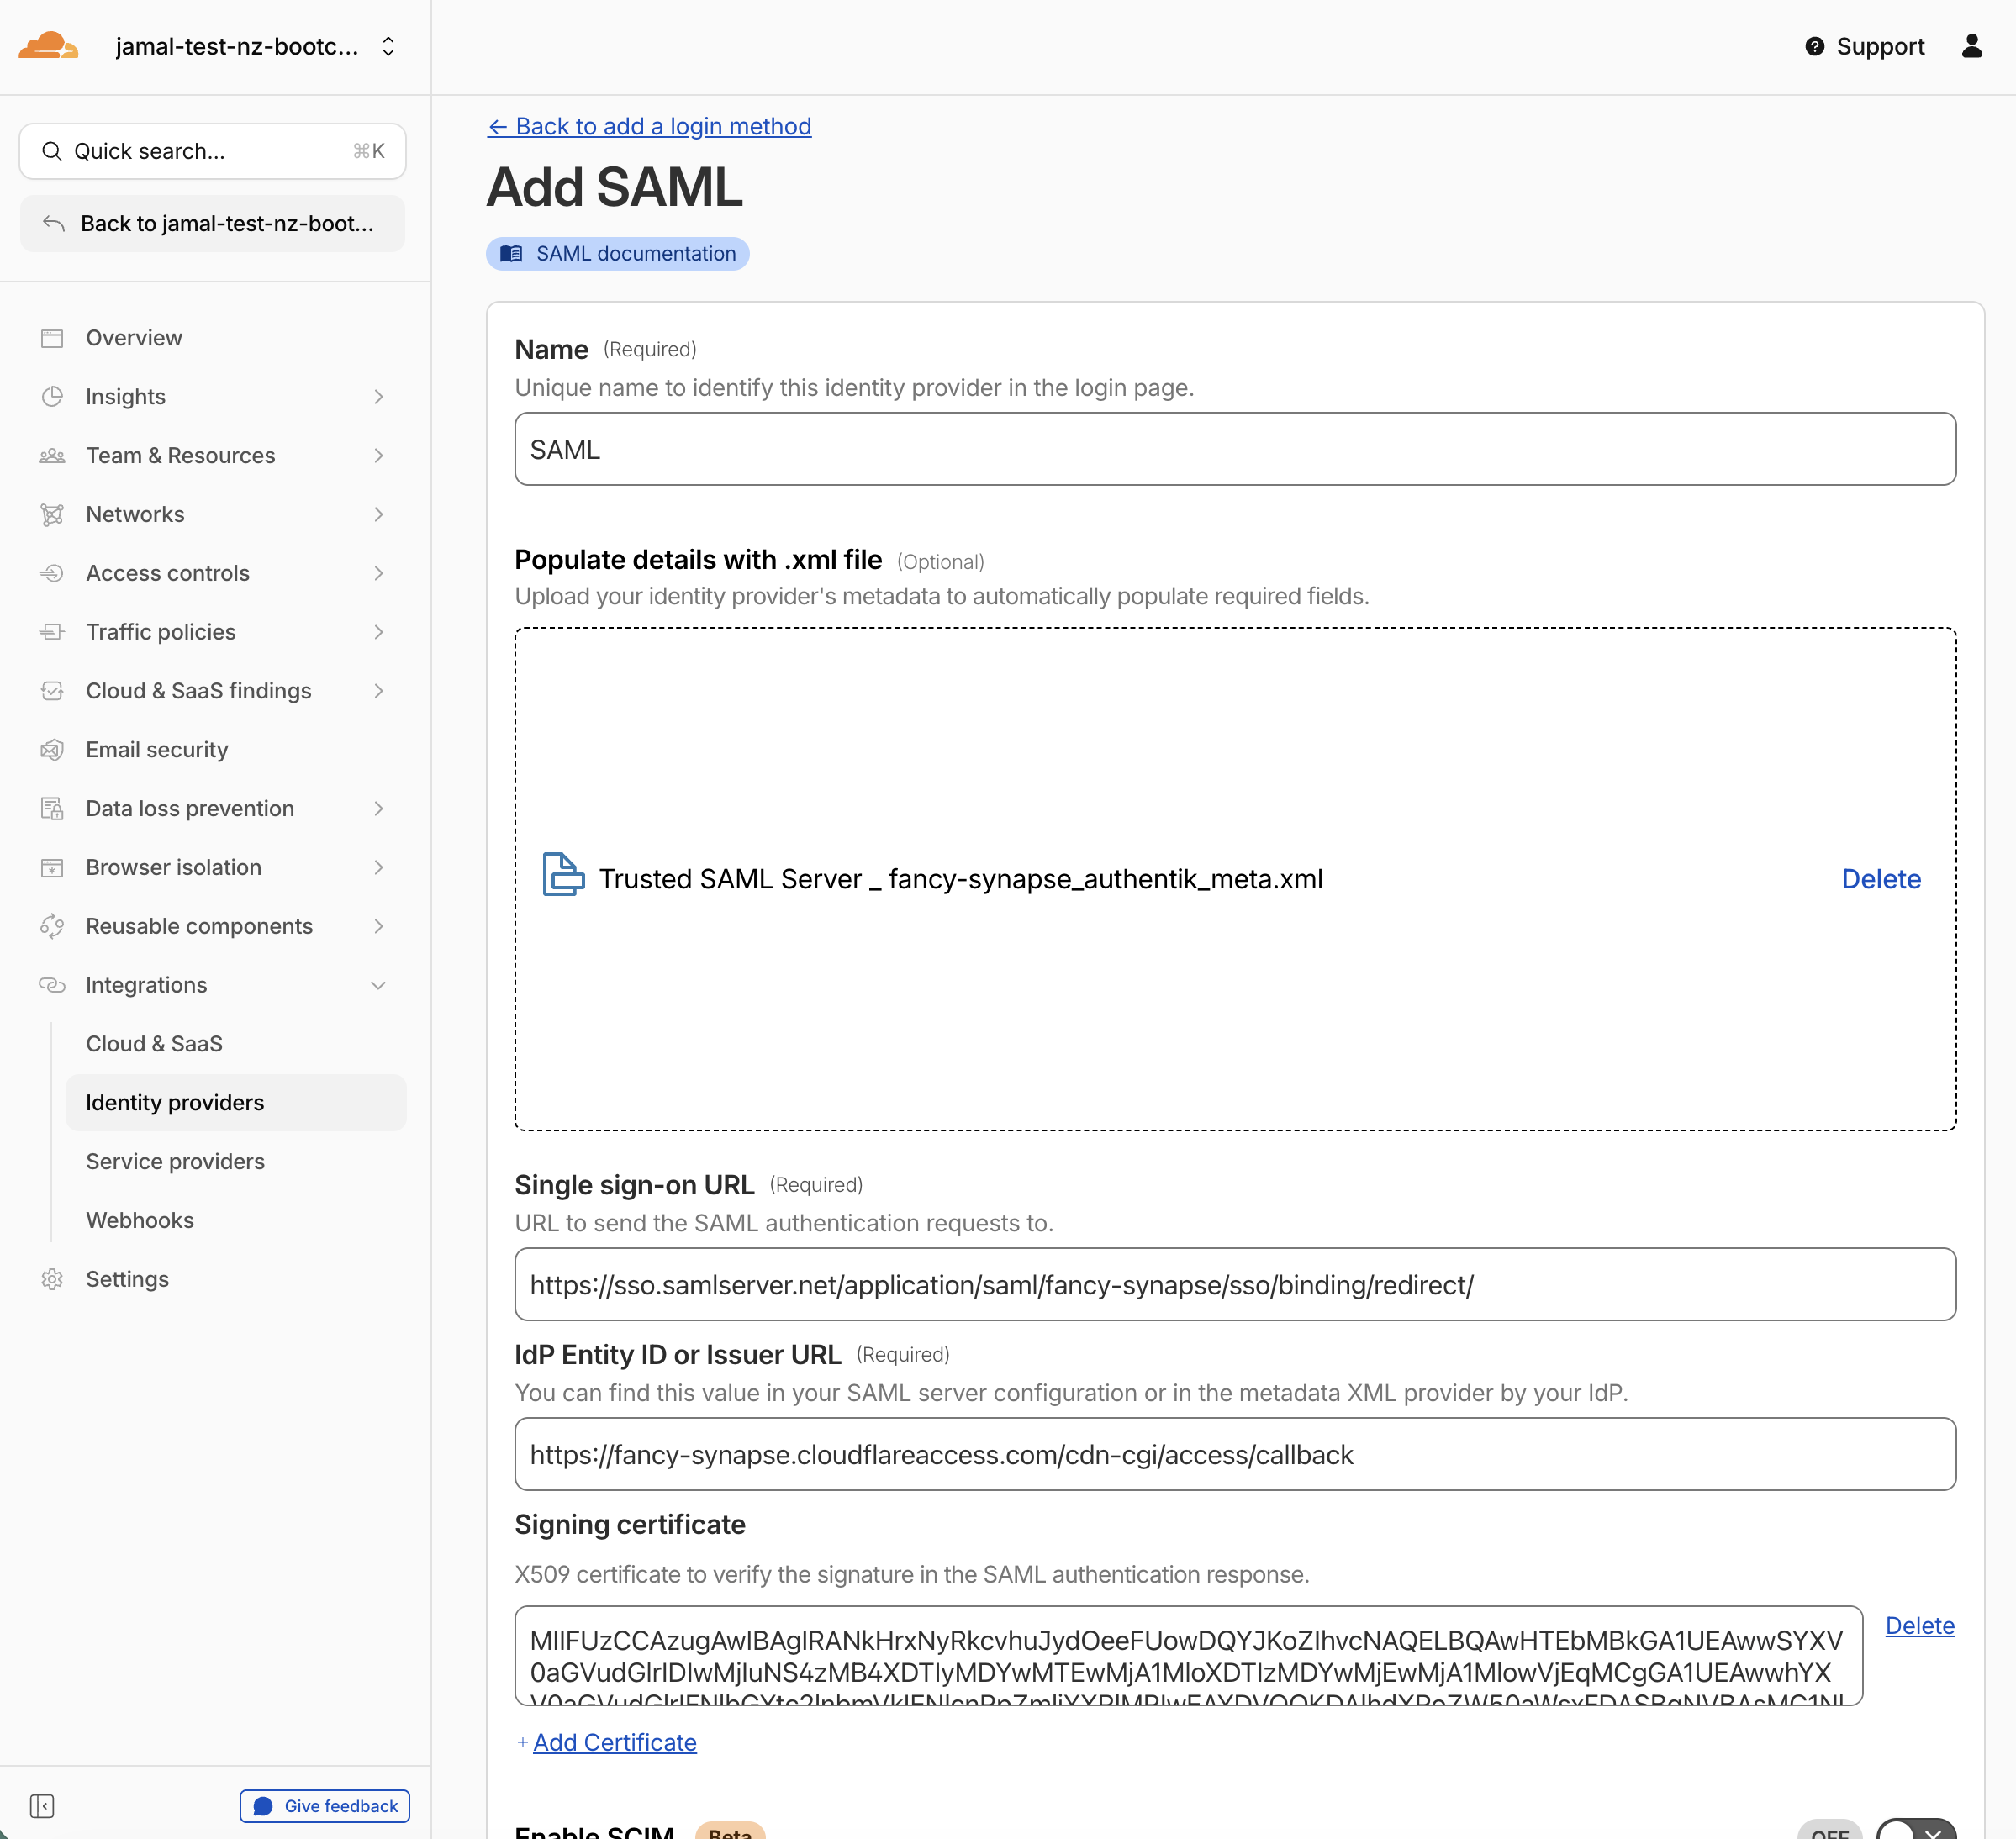
Step 4: Add the SAML IdP to Your Account
- Return to the Cloudflare One dashboard
- Open Integrations > Identity providers
- Select + Add an identity provider
- In the Login methods card, select SAML
- Drag and drop the metadata file you downloaded in Step 3 into the Import box
Step 5: Save and Test
- Scroll down and click Save
- Click Test
It may take up to 60 seconds for the new SAML provider to be provisioned. If you receive an error indicating the SAML provider was not found, wait a moment and retry.
- If prompted to log in, use the following credentials:
| Field | Value |
|---|---|
itadmin@acmecorp.com | |
| Password | #Savetheinternet |
- Press Continue
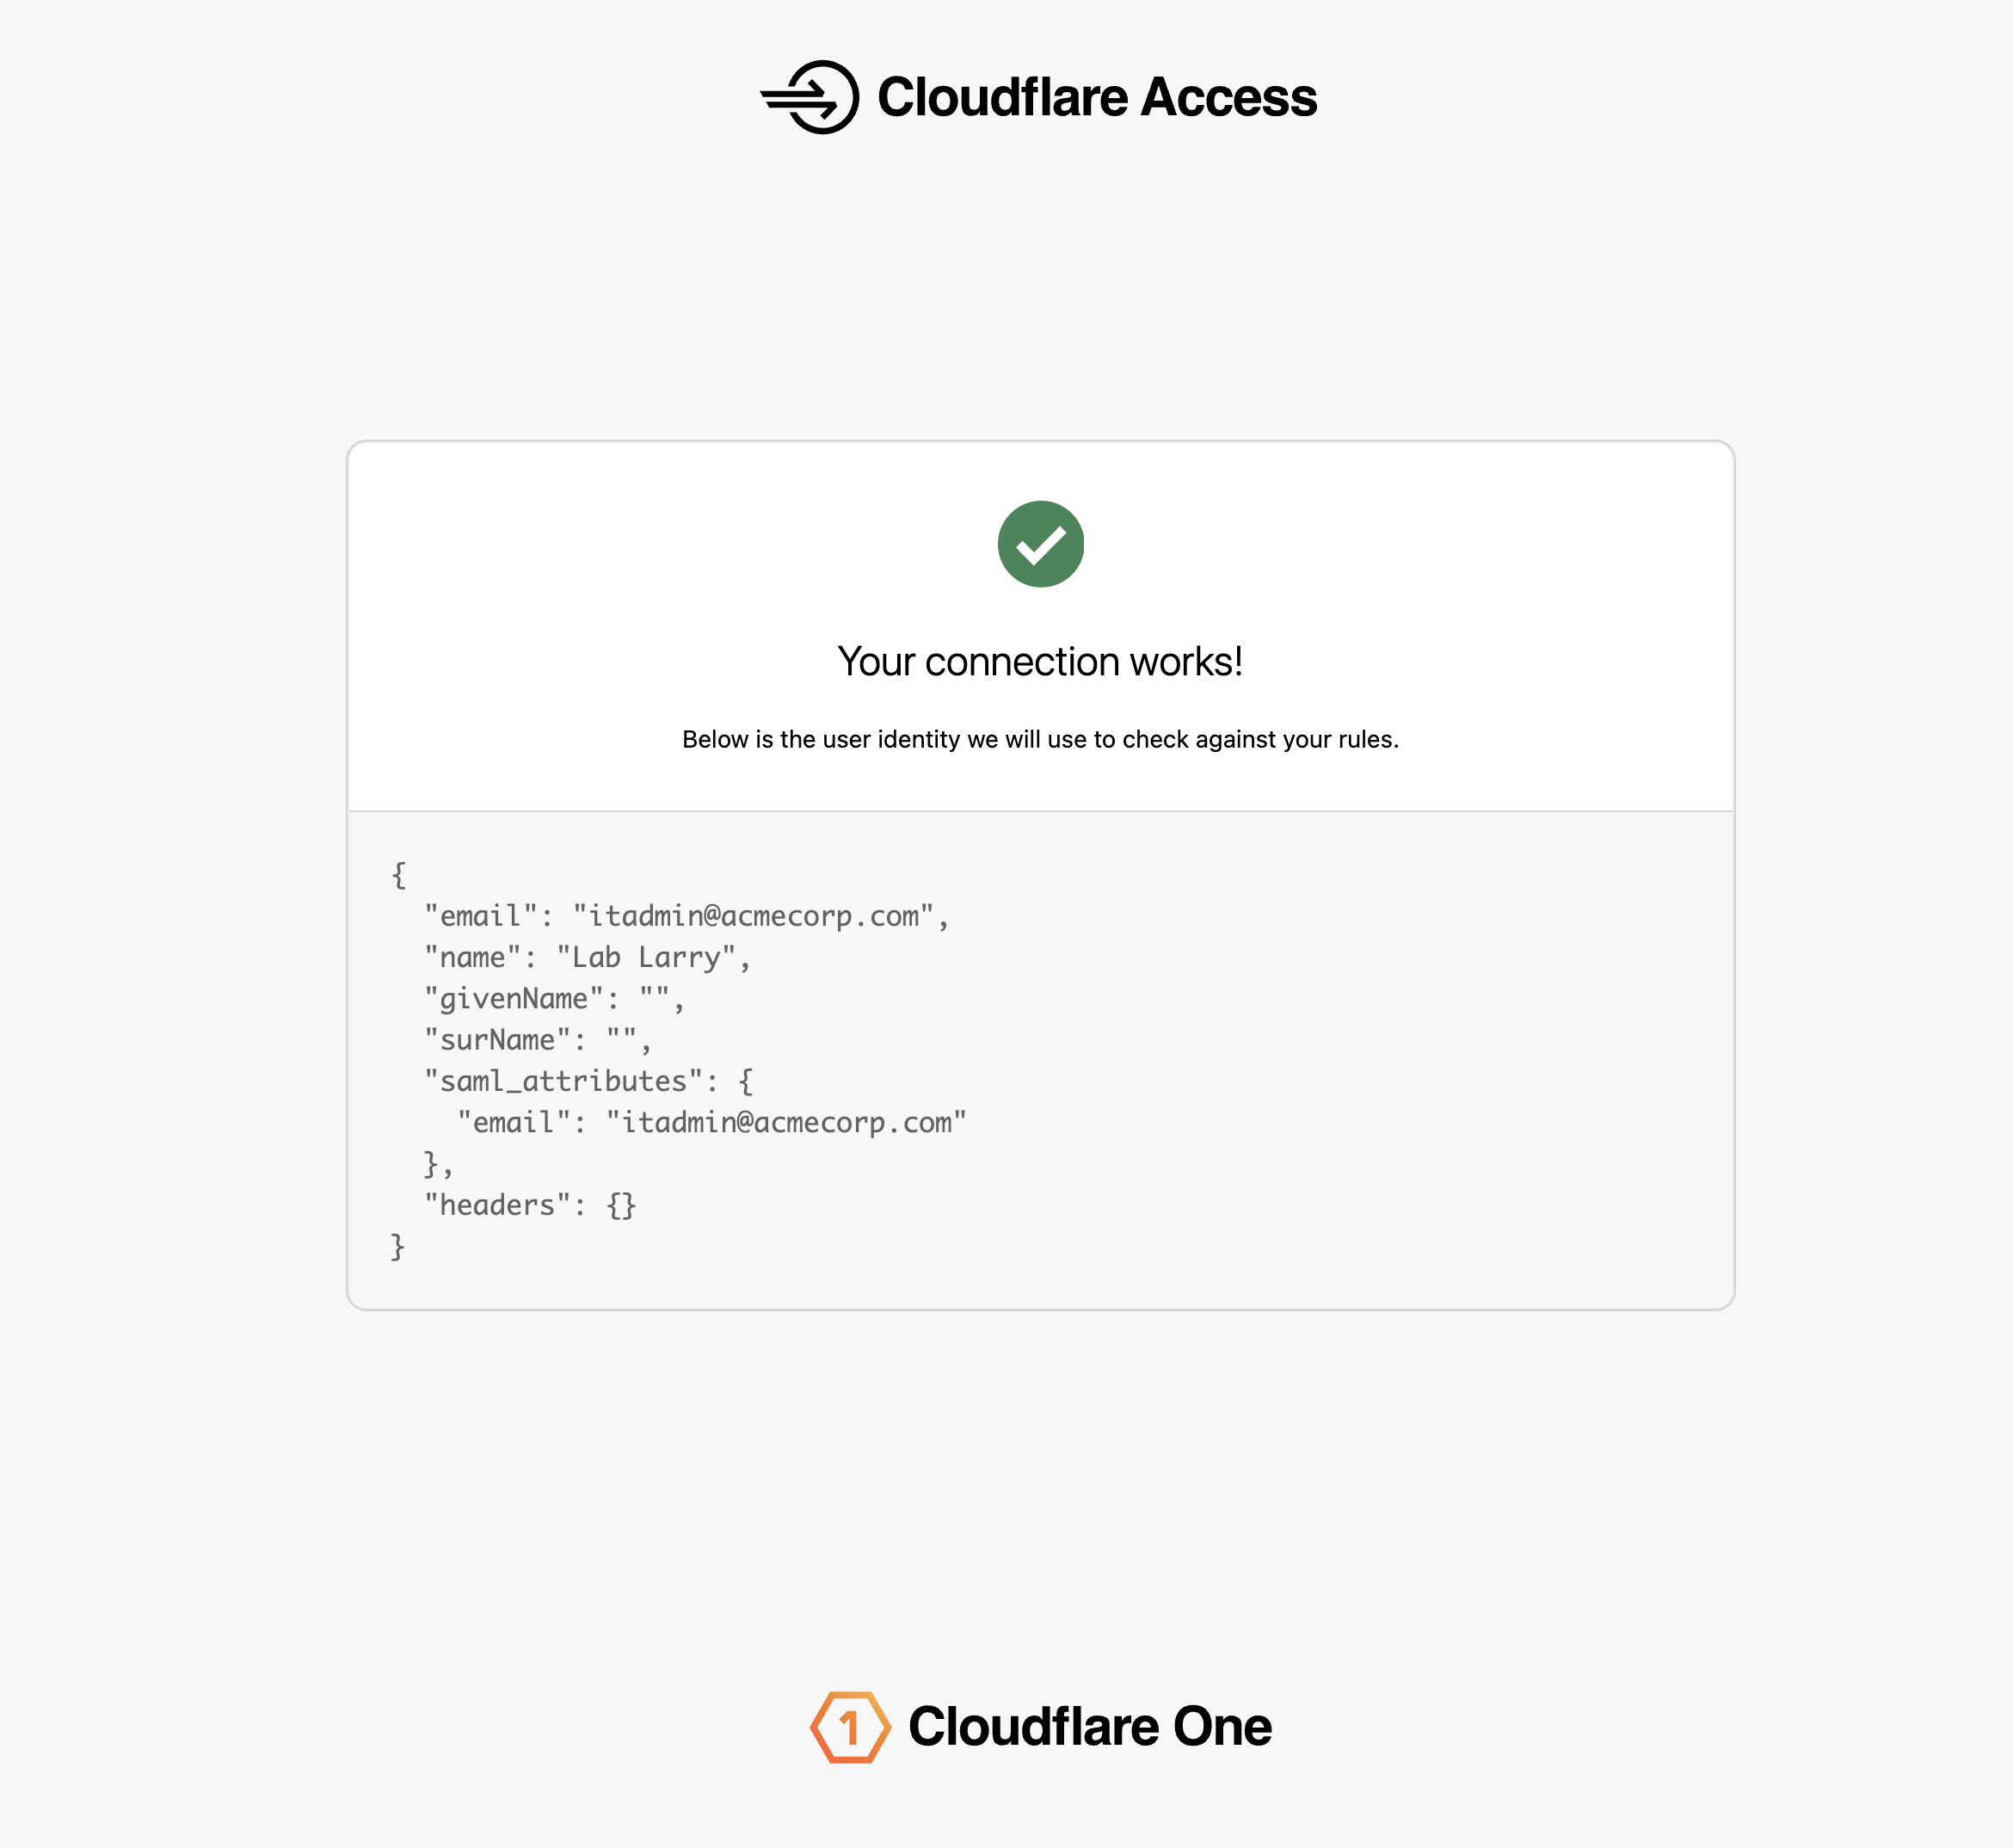
Expected Result
You should see your user's identity successfully retrieved via the SAML callback. The test page shows the user's email, SAML attributes, and authentication status.
Test Accounts
The shared SAML IdP includes the following test accounts for this lab:
| Password | Role | |
|---|---|---|
itadmin@acmecorp.com | #Savetheinternet | IT administrator |
employee@acmecorp.com | #Savetheinternet | Regular employee |
Validation
- Team domain verified in Settings
- SAML provider created at
labs.cloudflare.com/saml/register - Metadata file downloaded
- SAML IdP added in Integrations > Identity providers
- Test login succeeds with
itadmin@acmecorp.com - User identity retrieved in the SAML callback
Troubleshooting
SAML provider not found error
- Wait 60 seconds after creating the provider and retry
- Verify you used the correct slug (including any random suffix if your team domain has one)
Login loop or redirect error
- Clear browser cookies for
cloudflareaccess.comand your lab domain - Try an incognito window
- Verify the metadata file was imported correctly
Team domain not visible
- Ensure you accepted the Cloudflare account invite email
- Switch to the correct lab account in the dashboard account selector
Invalid certificate error
- Re-download the metadata file from
labs.cloudflare.com/saml/register - Delete the existing IdP entry and re-add it with the fresh metadata file